



You spot a dark patch on the wall, and your stomach drops. Mold in a bedroom, bathroom, or basement is unsettling, and the next move isn’t obvious. Here’s the short answer. For a small patch on a sound, washable, painted wall, fix the moisture source, wear protective gear, clean gently, and dry the wall completely. If mold has reached soft or damaged wallboard, the material has to come out. More scrubbing won’t help.
If you’re searching for how to kill mold on walls, remember this: killing mold isn’t the same as removing it. Dead mold can still cause allergic reactions, and staining may remain after cleanup, so you have to clean the growth away. This guide covers how to tell if your wall can be cleaned, which cleaner to use, the steps for a small patch, what to do before repainting, and how to keep mold from returning.
Can You Clean the Wall, or Does the Material Need Removal?
It depends on the wall material and how far the problem goes. Cleaning works on hard, intact surfaces. It works poorly on materials that soak up moisture, because mold grows below the surface where a cloth can’t reach. Find your wall in this table first.
| Wall condition or material | What cleaning may achieve | Appropriate next step |
|---|---|---|
| Sound, washable painted wall with a small patch | Cleaning may remove it if the paint and the wall behind it are intact. | Clean the patch using the steps below, then dry it fully. |
| Peeling or bubbling paint, soft or swollen drywall, or a wall that stays wet | Wiping the paint likely won’t help. The problem may sit inside the wall. | Fix the moisture source, then have the wall material checked. |
| Unpainted, paper-faced drywall with mold | The porous paper face is hard to clean fully. | Assess the wallboard for removal and replacement. |
| Plaster or concrete | Results depend on the finish, its condition, and how porous it is. | Check the finish, how far the growth spreads, and the surface’s condition before choosing a method. |
| Wallpaper, or mold that keeps returning at the seams | Washing the paper won’t reach what’s behind it. | Look for hidden moisture and growth before cleaning anything. |
Why Porous Materials Change the Answer
A porous material has tiny openings that absorb water and let mold grow inside. Drywall is a good example. Its gypsum core sits behind a paper face, and both layers hold moisture. EPA says mold can be hard to remove from porous materials, so you may have to throw them away.
Paint helps a little. A sound coat protects the surface underneath, but only while it stays intact. Once paint bubbles, cracks, or peels, treat the wall as damaged.

When to Get Help
EPA says most people can handle cleanup themselves when the moldy area is less than about 10 square feet—roughly a 3-by-3-foot patch. That’s a guide, not a safety guarantee. Call a professional if any of these apply:
- The growth covers more than about 10 square feet.
- The wall had major water damage, sewage, or other contaminated water.
- You suspect mold in the HVAC (heating, ventilation, and air conditioning) system.
- You suspect growth inside the wall.
- Someone at home has health concerns. Talk to a health professional first.
At that point, you’re looking at professional mold remediation, where crews contain the area and remove affected material instead of just wiping the surface.
What Should You Use to Clean Mold Off Walls?
Start with detergent and water. EPA’s advice for hard surfaces is to scrub with detergent and water, then dry completely. A stronger chemical isn’t automatically better.
Vinegar is the one people ask about most. It’s a household favorite for small patches, but it may not kill the mold on your wall, and its acidity can dull some paints, plaster, and stone.
| Option | Possible role | Main limitation |
|---|---|---|
| Detergent and water | A good first choice for hard, washable surfaces. | Too much water soaks the wall. Use a well-wrung cloth. |
| Labeled mold-cleaning product | Works on the surfaces its label lists, with set directions. | Stain removal and mold control are different claims. Read the label. |
| White vinegar | A mild option for small surface patches. | Doesn’t work on every mold. Can harm some finishes. |
| Bleach | Some product instructions call for it. | EPA doesn’t recommend it for routine cleanup. It can’t reach hidden growth. |
For a cleanable wall, you generally don’t need bleach.
Chemical-mixing warning: Never mix bleach with cleaners that contain ammonia. The mix can release toxic fumes. As a general safety rule, don’t combine bleach with vinegar or any other cleaner either. Pick one method and follow its directions. If it fails, don’t escalate to a stronger homemade mix. Reassess the wall instead. Dilution and contact time vary by product, so follow your label exactly.
What You Need Before Cleaning
Gather everything first so you don’t have to walk through the house mid-cleanup. You’ll need:
- Protective gear. EPA recommends an N95 respirator, gloves, and goggles without ventilation holes when cleaning mold.
- A cleaner that suits the wall’s finish.
- Soft cloths or sponges, plus clean water if your product needs rinsing.
- A bag for used cloths and disposables.
- Drop cloths to protect nearby surfaces.
- A moisture meter, if you have one.
An N95 filters particles, not chemical fumes. Follow your cleaner’s label for ventilation. Keep other people out of the room, and never aim a fan at untreated growth. Fans can spread spores.
How to Remove Mold From Walls: Step by Step
These steps cover a small, reachable patch on a sound, washable painted wall. If your wall matches another row in the table, follow that row instead.
1. Find and Address the Moisture Source
Look for a leak, a wet spot, repeated condensation, or a wall that stays damp. EPA says cleanup isn’t complete until you fix the moisture problem. First, repair or evaluate any plumbing or roof leak.
2. Protect Yourself and Prepare the Area
Put on your gear. Cover nearby furniture and floors. Don’t dry-brush, sand, or scrape the growth, since that can throw spores into the air. Keep dirty cloths out of other rooms.
3. Test the Method on a Hidden Spot
Try your cleaner on a small, out-of-sight area. Watch for color transfer, softened paint, or stains. This only tests the finish. It can’t tell you what’s happening inside the wall.
4. Clean the Surface Without Soaking the Wall
Dampen a soft cloth with your cleaner and gently wipe the growth. Follow the application directions and any required wet contact time on a labeled product. If those directions would soak or damage the wall, choose another method. Don’t spray heavily or scrub until the paint wears off. If paint lifts or the wall feels soft, stop and go back to the table above.

5. Remove Residue and Dry Thoroughly
Wipe or rinse as your product directs, then dry the wall completely. Use a moisture meter designed for wallboard according to the meter’s instructions, and compare the affected area with a dry, unaffected section of the same material. Drying time varies, so go by those readings, not a set number of hours.
6. Dispose of Materials and Recheck the Area
Bag used cloths and disposables, and wash reusable gear. Over the next few weeks, look for visible growth, dampness, musty odor, or paint failure. If mold returns, recheck moisture and hidden contamination instead of switching to a stronger cleaner.
Can You Paint Over Mold After Cleaning?
Repaint only after the mold is gone and the wall is completely dry. Never paint over active mold or a damp wall. EPA says to clean and dry moldy surfaces first. Painting over growth can trap moisture and hide the problem.
Repair or replace soft, swollen, or crumbling material before painting. Mold-resistant paint or primer can help as a finishing layer. It doesn’t remove existing mold or fix a leak. A faint stain isn’t proof of active mold, and a vanished stain isn’t proof of success. Before repainting, check that:
- Visible growth is gone from the surface.
- The leak, condensation, or other moisture source has been fixed.
- The wall is fully dry. Check with a moisture meter if you have one.
- The surface is sound and prepared, with loose or peeling paint addressed and no soft wallboard left underneath.
Over the following weeks, watch for new growth, returning dampness, or a musty odor. If any returns, investigate before applying more paint.
How to Keep Mold From Returning to the Wall
Mold comes back when moisture does, so prevention is mostly about water. Start with these actions:
- Repair water entry. Fix leaks and any other sources of persistent dampness.
- Deal with condensation. EPA suggests lowering humidity, improving ventilation or air movement, and insulating cold surfaces such as cold water pipes. Cold walls that sweat are a common trouble spot.
- Use exhaust fans. Run the bathroom fan or open a window when you shower, and use fans or windows when cooking.
- Measure humidity. A room can feel fine and still be too humid. Use a hygrometer, a small meter that reads relative humidity (RH), the percentage of moisture the air holds compared with the most it could hold at that temperature. EPA recommends keeping indoor RH below 60%, ideally between 30% and 50%.
Room RH doesn’t tell the whole story. A wall can stay wet from a hidden leak or local condensation while the room reading looks normal.
Use exhaust fans. Run the bathroom fan when you shower and the kitchen fan when you cook, and make sure they vent outdoors, not into the attic or ceiling. Open windows only when the air outside is drier than the air inside.
In a basement, getting the humidity settings right matters as much as the unit. If the wall sits above a crawl space, moisture rising from beneath the home may keep feeding the dampness upstairs.
Conclusion
To remove mold from walls well, decide first if the wall can be cleaned at all. Sound, washable painted drywall with a small patch often responds to detergent and water. Soft or damaged wallboard? Check the wall-material table before cleaning. Use it to assess mold in porous materials, large patches, or hidden mold, too. Fix the moisture, dry the wall fully, and recheck it over the following weeks.
Need Help Controlling Moisture After the Cleanup?
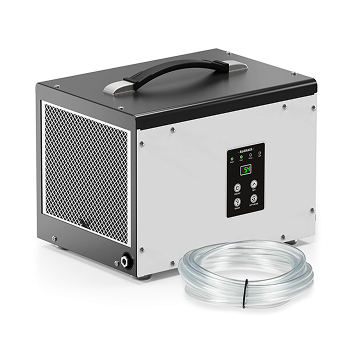
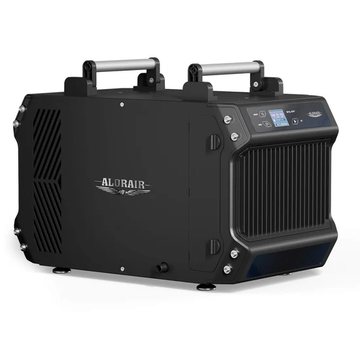
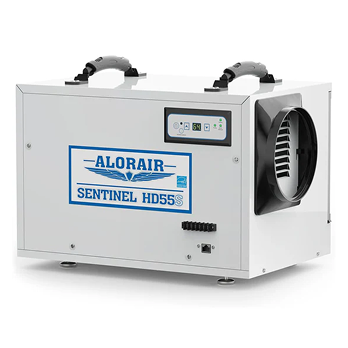
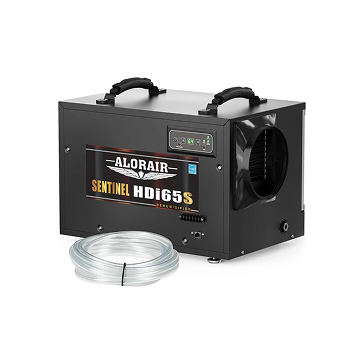
Cleaning removes the mold. Humidity control keeps it from coming back. If the room stays damp after your repairs, pair the cleanup with a dehumidifier built for the job. Send the AlorAir team your room size and humidity readings, and they’ll help you pick the right unit.


