



Mold under your house is a moisture problem first and a mold problem second. Successful crawl space mold remediation requires three things in order: stop the water or humidity source, physically remove or clean contaminated materials, then dry and control the space so conditions no longer support regrowth. Small, accessible areas may be suitable for careful DIY cleanup. Still, extensive contamination, structural damage, HVAC involvement, sewage exposure, or health concerns in the household are reasons to bring in qualified professionals.
Confirm the Problem and Assess the Extent
Before remediation begins, inspect the accessible joists, subfloor, insulation, foundation walls, pipes, and HVAC components. Look for visible growth, musty odors, damp insulation, condensation, water staining, and wood that feels soft or damaged.
White deposits on concrete or masonry may be efflorescence rather than mold. Dark marks on wood may also remain after an older moisture problem. However, color alone cannot identify the mold species or determine the level of health risk.
When visible mold is present, routine sampling is usually unnecessary. Testing may be considered when the suspected growth is hidden, the source is disputed, documentation is required, or a qualified professional recommends it as part of the assessment.
DIY or Professional Crawl Space Mold Remediation?
The EPA uses roughly 10 square feet, about a 3×3-foot area, as a practical size guideline. Smaller, accessible patches may be manageable as a DIY project. Larger or more complex situations belong with a professional. This is a decision aid, not a legal threshold.
| Situation | DIY May Be Reasonable | Professional Recommended |
|---|---|---|
| Mold covers less than about 10 sq. ft. | Yes | Optional |
| Growth on accessible, structurally sound wood or hard surface | Yes | Optional |
| Mold covers multiple joists or large subfloor areas | No | Yes |
| Hidden mold suspected behind insulation | No | Yes |
| Wood is soft, sagging, or structurally damaged | No | Yes |
| HVAC ducts or equipment may be contaminated | No | Yes |
| Sewage or contaminated floodwater is involved | No | Yes |
| Occupants have asthma, lung disease, or immune suppression | No | Yes |
| Crawl space has electrical hazards or unsafe access | No | Yes |
| Mold has returned after a previous cleanup | No | Yes |
For small, accessible areas where the moisture source is already fixed, DIY crawl space mold remediation is a real option. Before picking up a scrub brush, read the full step-by-step instructions on how to remove mold from a crawl space yourself, covering surface prep, cleaning methods, and safe disposal.
At minimum, wear a NIOSH-approved N95 respirator, fully sealed goggles, protective gloves, suitable clothing, and waterproof boots. Stop and call a professional if you discover more contamination than expected, damaged wood, electrical hazards, sewage, or possible HVAC contamination.
Step 1: Find and Fix the Moisture Source
Fix the visible mold, skip the moisture source, and the mold comes back. No cleanup holds without this step.
| Evidence | Likely Moisture Source | Corrective Direction |
| Mold concentrated below a pipe | Plumbing leak | Repair and dry before proceeding |
| Growth across joists above bare soil | Ground vapor | Install or repair a vapor barrier |
| Mold and condensation near ducts | Humid air on cold surfaces | Insulate, air-seal, and dehumidify |
| Growth worsens after rain | Drainage or groundwater | Correct gutters, grading, or drainage |
| Summer mold near foundation vents | Humid outdoor air entry | Evaluate venting and air-sealing strategy |
| Dehumidifier runs without reaching target | Excess moisture entry or low capacity | Diagnose source before resizing |
Bulk Water and Plumbing Leaks
Even a slow drip from a supply line can keep crawl space wood damp enough for sustained mold growth. Any standing water or foundation seepage must be removed and the entry point repaired before any crawl space mold treatment will hold.
Ground Moisture
Bare soil releases moisture vapor constantly, no visible water required. This vapor raises RH (relative humidity) across the entire floor. Mold under the house from soil vapor tends to spread broadly across many joists rather than appearing in one isolated spot.
Humid Outdoor Air and Condensation
Warm, humid summer air entering a vented crawl space can cool below its dew point and deposit moisture directly on wood and insulation. Insulating pipes and ducts reduces condensation on those surfaces, but only humidity control addresses the underlying condition.
Step 2: Inspect and Contain the Affected Area
A qualified remediator documents all affected surfaces, water sources, and structural conditions before anything is touched, including any HVAC system involvement.
Containment requirements depend on the location and extent of the contamination and the risk of spreading debris into occupied areas. The contractor should explain how the crawl space and access route will be isolated during the work.
Do not run an HVAC system that is known or suspected to be contaminated with mold. Operating the system may carry contaminated particles into other parts of the building.
Step 3: Remove Wet and Unsalvageable Materials
Saturated fiberglass batt insulation cannot be cleaned in place; it comes out. All contaminated material is bagged before moving through the home.
Structurally sound wood, concrete, masonry, metal, and other hard surfaces may be suitable for cleaning and drying. The condition of the material should be evaluated before work begins.
Wet fiberglass insulation, contaminated cardboard, damaged vapor-barrier materials, and other porous materials may need to be removed when they cannot be cleaned and dried completely.
Soft, crumbling, sagging, or structurally weakened wood requires further evaluation. Mold remediation does not repair structural damage.
Step 4: Clean Joists, Subfloor and Hard Surfaces
Professionals select cleaning methods based on the material, contamination level, and condition of the surface. The goal is to physically remove mold and contaminated debris without spreading them into occupied areas. Staining may remain after contaminated material has been removed, so appearance alone should not be used to judge whether remediation is complete.

A biocide may kill surface mold, but the EPA notes that dead mold still triggers allergic reactions, which means killing without removing isn't a finished job. Physical scrubbing and removal is what remediation actually means.
The EPA doesn't recommend bleach as a routine mold cleanup practice. Detergent and water are the starting point for hard, non-porous surfaces. Never mix bleach with ammonia in any enclosed space.
Step 5: HEPA Clean and Dry the Crawl Space
Disturbing mold releases spores into the air. HEPA (high-efficiency particulate air) vacuuming captures them.
Equipment used for final cleaning should have appropriate HEPA filtration and be operated in a way that does not redistribute captured particles.
No new insulation goes in until wood moisture readings stabilize.
Drying should continue until affected materials have reached an acceptable and stable moisture condition. Plumbing, drainage, ground vapor, condensation, and air-humidity problems should be addressed before materials are covered or replaced.
Step 6: Verify That Remediation Is Complete
A post-remediation inspection should confirm that visible mold and contaminated debris have been removed, affected materials are dry, musty odors are no longer present, and the original moisture source has been corrected.
Moisture readings should be reviewed before insulation or other materials are reinstalled. The crawl space should also be checked again after rain or a period of humid weather.
Air or surface sampling may be useful in selected cases, but it is not routinely required. Testing should not replace visual inspection, moisture measurements, and confirmation that the underlying water problem has been resolved.
| Phase | Main Goal | Completion Check |
| Assessment | Define scope and moisture source | All affected areas identified |
| Containment | Limit cross-contamination | Work area properly isolated |
| Removal and cleaning | Remove contaminated material | No visible debris or growth remaining |
| Drying | Stabilize materials | No damp insulation or condensation |
| Prevention | Control future moisture | RH and water sources under control |
| Verification | Confirm successful work | Dry, clean, and odor-free conditions |
How Much Does Crawl Space Mold Remediation Cost?
Crawl space mold remediation cost depends on more than the visible size of the affected area. Accessibility, contaminated insulation, structural damage, drainage problems, HVAC involvement, and the moisture-control work required after cleanup can all affect the final estimate.
Published 2026 estimates vary by source. Angi and This Old House place many crawl space mold removal projects at about $500 to $2,000, while HomeGuide gives a higher crawl space range of $1,500 to $4,000. Based on those published estimates, $500 to $4,000 is a reasonable preliminary planning range, but a more involved professional project may exceed it.
Crawl Space Mold Remediation Cost Range
| Cost Item or Project Scope | Typical Planning Range | What the Range Covers |
| Small, localized crawl space project | $500–$1,500 | Accessible growth with limited material removal and no major repair work |
| Typical professional crawl space remediation | $1,500–$4,000 | Inspection of the affected area, containment, removal or cleaning, HEPA cleanup, and drying |
| Extensive or difficult-access remediation | $4,000+ | Widespread growth, limited access, wet insulation, structural damage, sewage, or HVAC involvement |
| General mold remediation rate | $10–$30 per affected sq. ft. | A broad market reference; contractors may apply minimum project charges, and this is based on affected surface area rather than total crawl space floor area |
| Mold inspection or testing | $250–$650; up to $1,000 for larger properties | May be billed separately and is not routinely required when visible mold is already present |
| Insulation replacement | $1.00–$4.50 per sq. ft. | Separate replacement cost when contaminated insulation cannot be salvaged |
| Vapor barrier installation | $2–$4 per sq. ft. | Moisture-control work that may be recommended after remediation |
| Full crawl space encapsulation | $3–$10 per sq. ft. | A separate moisture-control project, not part of the basic mold-removal price unless included in the contract |
These figures are general U.S. planning estimates, not fixed contractor prices. The final quote should separate mold remediation from plumbing, drainage, structural repair, insulation replacement, vapor-barrier installation, encapsulation, and HVAC work.
Factors That Affect the Cost
-
Total area affected by mold
-
Crawl space height and accessibility
-
Amount of insulation or other porous material requiring removal
-
Condition of joists, beams, and subfloor materials
-
Need for containment and HEPA filtration
-
Sewage or contaminated floodwater
-
HVAC or duct contamination
-
Plumbing, drainage, or groundwater repairs
-
Vapor-barrier installation or replacement
-
Dehumidification or encapsulation work
-
Regional labor and disposal costs
-
Optional post-remediation testing
What a Remediation Estimate Should Include
A written estimate should identify the affected area, materials scheduled for removal, cleaning methods, containment measures, drying requirements, disposal costs, moisture repairs, and the conditions used to determine that the work is complete.
Homeowners should also confirm whether repairs such as plumbing, drainage, insulation replacement, vapor-barrier installation, or structural work are included in the quoted remediation price or billed separately.
How to Prevent Crawl Space Mold From Returning

Keep Crawl Space Humidity Under Control
Target RH below 60% consistently; 45%–55% is the practical range for a controlled crawl space. Mount a hygrometer in the space so you're working from real data, not guesswork.
Repair Leaks and Improve Exterior Drainage
Gutters and downspouts should move water several feet clear of the foundation. Slope perimeter soil away from the house.
Check all plumbing in and above the crawl space. Active water entry through the foundation walls needs drainage correction, a sump pump, or exterior waterproofing; no dehumidifier or vapor barrier compensates for that.
Cover Exposed Soil With a Vapor Barrier
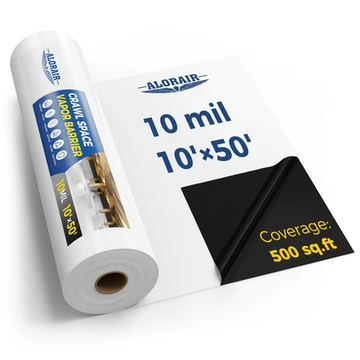
Bare soil releases moisture vapor constantly. A reinforced polyethylene sheet across the entire floor, lapped up the walls and sealed at seams, significantly reduces that input. Seaming, pier wrapping, and wall-overlap details are where DIY installs often fail; this guide covers the specifics of crawl space vapor barrier installation.
Use a Dehumidifier for Residual Air Moisture
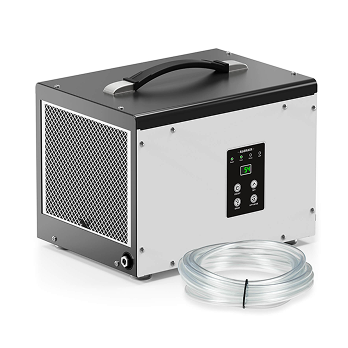
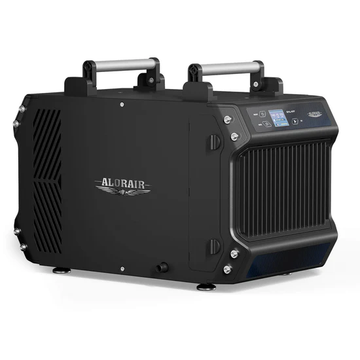
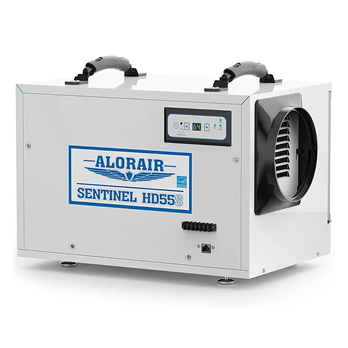
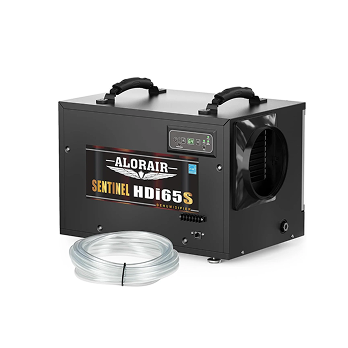
A crawl space dehumidifier keeps RH stable after remediation is complete. It won't remove existing mold, and it doesn't replace the repairs above. What it does is hold humidity in the range where new growth can't establish.
Once your unit is running, crawl space dehumidifier settings: what to set and why shows the right target RH and how to read what your unit is telling you.
Consider Encapsulation for Persistent Moisture Problems
Full encapsulation, sealing floor and walls with a continuous barrier and conditioning the air inside, is worth considering when ground vapor or outdoor air entry resists simpler measures. It's not a requirement after every mold job, but it's the right call for recurring or hard-to-control moisture.
Frequently Asked Questions
What kills mold in a crawl space?
Physical removal does: scrubbing and disposing of contaminated material, not spraying something over it. Dead mold still triggers allergic reactions, so killing it in place isn't a finished job. Fix the moisture source at the same time, or the mold regrows.
Is black mold in a crawl space always toxic?
No. Color doesn't indicate species or risk level; many mold species appear black, and visual identification is not reliable. Treat all visible growth as a moisture problem that needs correcting, use appropriate protection, and don't let color drive the decision on how seriously to take it.
How long does crawl space mold remediation take?
The project timeline depends on the affected area, access conditions, the amount of material requiring removal, and the time needed to dry the crawl space. Projects involving wet insulation, drainage repairs, HVAC contamination, or structural damage generally take longer.
Is testing required after crawl space mold remediation?
Air or surface sampling is not routinely required after every project. Visual inspection, moisture measurements, the absence of musty odors, and confirmation that the moisture source has been corrected are usually more important. Testing may be useful when documentation is required, contamination was extensive, or a qualified professional recommends it.


