



A damp basement wall can make you wonder whether you need a vapor barrier—or whether the one you have has failed. Before you add more plastic, take a closer look at where the moisture is coming from.
A basement wall vapor barrier slows water vapor. It cannot stop rainwater or groundwater leaking through a foundation. Its location also matters: plastic installed on the wrong side of a finished wall can trap moisture.
Below, we’ll look at when a wall needs vapor control, which warning signs deserve attention, and when an existing layer may need repair or replacement.
What Does a Basement Wall Vapor Barrier Actually Do?

A vapor barrier, or vapor retarder, slows water vapor as it moves through a building material. That is different from waterproofing, which addresses liquid water. If you can see water entering through a crack or collecting where the wall meets the floor, a vapor barrier alone will not fix it.
Location matters just as much as material. An interior plastic sheet behind drywall can keep a foundation wall from drying toward the basement. Whether a basement wall needs a vapor retarder—and which type is suitable—depends on the wall assembly and local conditions.
Crawl spaces are a separate case. A plastic liner over exposed soil limits vapor rising from the ground. That advice should not be copied directly onto a finished basement wall.
Does a Basement Wall Vapor Barrier Have a Set Lifespan?
There is no single replacement date for every basement wall vapor barrier. A wall assembly that stays dry may perform for years without needing attention. One with an unresolved leak can develop problems much sooner.
Check what you can actually observe: loose seams, torn material, damp insulation, stains, or a musty smell that keeps returning. If the barrier is hidden behind drywall, those signs call for an inspection of the wall and its moisture source—not an automatic decision to add another layer.
When Should You Repair or Replace an Existing Wall Barrier?
Start with the moisture source. If the wall gets wet after heavy rain, water appears along the wall-floor joint, or a crack is leaking, first identify and fix the basement wall leak. Deal with the water source before replacing any interior material.
Then assess the affected area:
- Small, accessible damage may be repairable if the surrounding wall is dry and the repair fits the existing system.
- Loose seams or repeated condensation deserve a closer look. Check whether water is entering the wall or collecting behind the finish.
- Wet insulation, damaged drywall, or recurring mold may mean the wall assembly needs to be opened, dried, and rebuilt appropriately.
- If you do not know what is behind the finished wall, have the assembly assessed before installing new plastic over it.
Age alone is not a reliable reason to replace a basement wall vapor barrier. The cause of the moisture and the condition of the wall matter more.
Why You Should Check the Wall Behind It
A damaged layer may be a clue, but it is rarely the whole story. Moisture can also reach a basement wall through poor exterior drainage, a foundation leak, plumbing, or humid indoor air condensing on a cold surface.
If the wall is finished, check for soft drywall, damp insulation, staining, or a persistent musty smell. Repairing visible plastic while leaving wet materials behind it can allow the problem to return.
Can a Dehumidifier Fix a Damp Basement Wall?

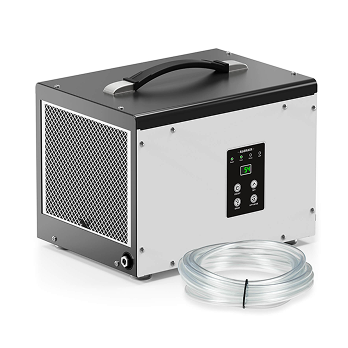
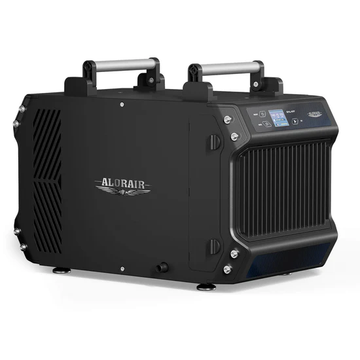
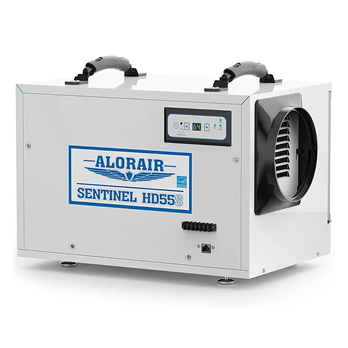
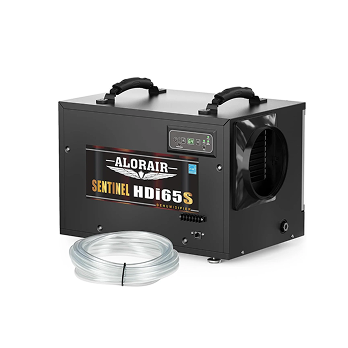
A dehumidifier can lower moisture in basement air after leaks have been repaired and wet materials have been dried. It cannot stop water entering through a foundation wall or solve moisture trapped inside a finished wall.
If the basement stays humid after the water source is addressed, monitor its relative humidity and compare basement dehumidifiers sized for the space. Keep checking the wall as well as the air: a comfortable humidity reading does not prove that materials behind drywall are dry.
What to Check Before Installing a New Wall Barrier
Before finishing or rebuilding a basement wall, check these points:
- Look outside first. Gutters, downspouts, grading, and drainage can all affect how much water reaches the foundation.
- Identify the existing wall layers. Concrete, insulation, framing, and drywall need to work together so moisture is not trapped.
- Choose materials for the whole wall assembly. Do not select an interior plastic sheet based only on its thickness.
- Check local requirements and ask a qualified professional when the wall has repeated leaks, extensive damage, or an unknown assembly.
Conclusion
A basement wall vapor barrier only helps when it suits the wall and sits in the right place. If you see dampness, start by finding its source. Repair leaks and dry affected materials before deciding whether an existing layer needs a patch, replacement, or a different wall assembly. Once the wall is sound, a dehumidifier can help manage moisture in the basement air.


