Installing a dehumidifier in your crawl space is one big step. The next equally important step is setting it correctly so it works efficiently, protects your home structure, and doesn’t waste power.
Many homeowners set and forget—but we’ll walk you through what settings to use, why they matter, and how to tweak them based on your space. This way, you’ll know exactly what a crawl space dehumidifier should be set at and why.
Why Settings Matter
Your dehumidifier doesn’t just turn on and off randomly. It uses sensors to maintain a target humidity, and its fan or pump may have modes. If set too low (over-drying) you’ll waste energy and may overwork the unit.
If set too high, you risk mold, wood decay, musty smells, and structural issues. The right settings help it run only when needed and maintain conditions that keep your home healthy and dry.
What Humidity Level Should You Set?
The “Sweet Spot”: 45–55% RH
For most crawl spaces, setting the dehumidifier to about 50% relative humidity (RH) is ideal. That means you’re in the middle of the range where moisture is controlled, but you’re not over-driving the unit. Many experts recommend 45%–55% RH because:
- Below ~45% RH you may begin to dry out building materials more than needed.
- Above ~55% RH you begin seeing mold risk, wood swelling or instability, musty odors, and pest or insect issues.
One pro site says: “For a sealed crawl space the best humidity range is 45-55 % RH.” (crawlspaceninja.com)
When to Set Lower (40-45%)
If you live in a very humid climate, have frequent water intrusion, or the crawl space is poorly sealed, you may choose a setting of ~45% RH to get ahead of the moisture load. Just understand the unit may run more often and consume more energy.
When to Set Higher (55-60%)
If your crawl space is modest in size, fairly well sealed, and you want to reduce runtime or save energy, a setting of ~55% RH might suffice. Many homes do well at this level and never experience mold or moisture issues—but it offers less margin in extremely humid periods.
Seasonal Considerations
- In summer, humidity naturally rises. The unit may run more often.
- In winter, when outdoor air is dry and crawl space may cool, you may relax the set point slightly (e.g., raise from 50% to 55%) so it doesn’t always run.
- After water events (flood, heavy rains) you may temporarily set it lower (e.g., 45%) to speed recovery, then restore to your normal setting.
Other Important Settings & Modes

Fan Mode / Airflow
Many units have fan modes: low, medium, high, or “auto.” For crawl space install:
-
Use auto or moderate fan speed for most normal conditions—this balances power use and airflow.
-
Use high mode only when you know the humidity load is high (after rain, flood, or heavy infiltration) and you want faster drying.
Running on high continuously will shorten lifespan, increase noise, and raise energy cost.
Pump / Drain Settings
If the unit has a built-in pump or remote drain hose you’ll want to check settings like:
-
Drain cycle testing: Some units allow testing the pump manually.
-
Float switch mode: If you use a pan/floor-drain arrangement, make sure the float switch is enabled so the unit stops if drainage fails.
-
Hose routing: Ensure the drain hose is set at correct slope or the pump lift rating is sufficient for your installation. Incorrect drainage may lead to backup, higher humidity, or damage.
Set-Point Differential or Hysteresis
Some models allow you to tweak how long after the target is reached before the unit turns off (the “dead band”). For example, you might set it to 50% RH and the unit may turn off only when RH drops to 48%. A tight differential is good for spaces you want very stable, but slightly wider saves energy.
Timer / Schedule Settings
If your crawl space tends to gain humidity at predictable times (e.g., after lawn watering, rains, or during summer evenings), you can use scheduling so the unit pre-runs or stays on longer during those hours. This keeps it ahead of the load rather than playing catch-up.
Alert/Alarm Settings (Smart Models)
If your model includes Wi-Fi or alert capability, ensure settings for notifications are enabled:
-
High RH alert (if RH goes above 60–65%)
-
Drain failure alert (if pump or hose blocked)
-
Filter check alert (if airflow drops)
Having the alerts active helps you catch issues before they become major.
Why These Settings Help Save Money & Protect Your Home

When you set target RH appropriately (50% is a good default), the dehumidifier cycles efficiently—not constantly, not over-drying. Proper fan/pump settings keep it from running full blast when not needed. Drain and alert settings reduce risk of failure.
Altogether this means: fewer hours running, lower energy bills, longer equipment life, and a healthier crawl space (which means healthier house).
Product Example: Crawl Space–Rated Model (Setting Notes)

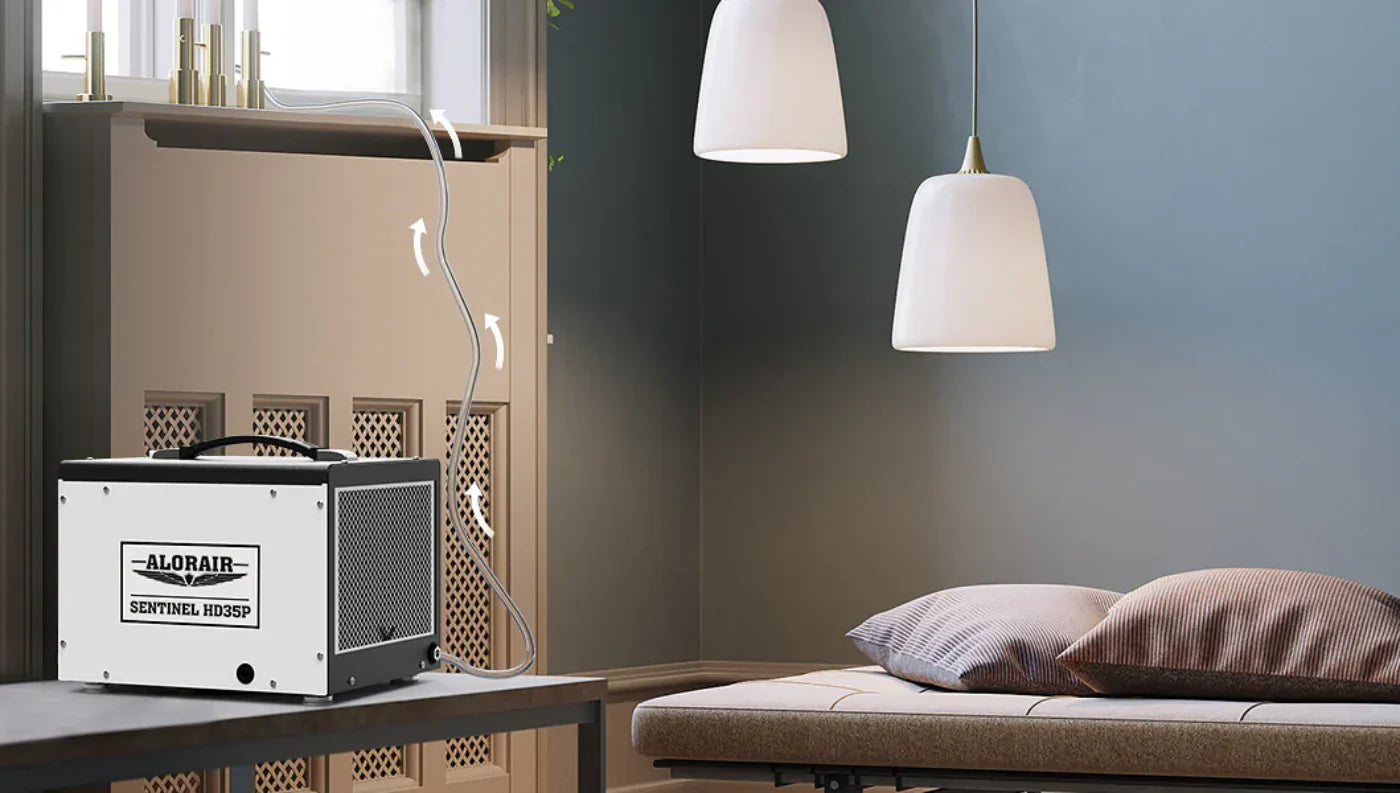
Model: AlorAir Sentinel HD55P (Crawl Space Dehumidifier with Pump)
Description: A dedicated crawl space unit with built-in pump, rated for ~120 pints/day removal, designed for space up to ~1,500 sq ft.
Advantages: Designed for tough conditions, built-in pump helps remote drainage, higher capacity gives margin if humidity load is high.
Disadvantages: Higher cost than basic models; may be overkill if space is very small and well sealed.
Setting Notes:
- Set RH target at 50% RH initially.
- Use automatic fan mode.
- Check pump drainage route; ensure hose is unobstructed.
- Use alerts: set high RH alert at 60% to detect possible water intrusion.
- After heavy rain event, you might temporarily lower target RH to 45% to dry quickly.
Common Mistakes & How to Avoid Them
- Setting RH too low (e.g., 35%): Over-drying, increased energy use, possibility of wood shrinkage or static.
- Ignoring drainage: If pump is blocked and you didn’t test, unit may shut off or stop removing moisture effectively.
- Forgetting seasonal changes: Cold winters might allow you to relax RH slightly; hot summers may require tighter control.
- Installing without clearance: Filters blocked or unit too cramped reduces performance and may reduce runtime life.
- Turning unit off because “it’s working”: A crawl space unit is supposed to run when moisture load is high; turning it off defeats the benefit.
Frequently Asked Questions
What should a crawl space dehumidifier be set at?
A target of ~50% RH works well for most crawl spaces. You may adjust to 45% in very humid conditions or up to 55% in dry/low-risk crawl spaces.
How do I use a dehumidifier in a crawl space?
Set the target RH, mount the unit with proper drain and clearance, ensure the pump/hose works, enable fan mode and alerts if available, and allow the unit to run until RH stabilizes in the set range.
Should I change the setting by season?
Yes. In summer when humidity is high you may keep it at 50% or lower to maintain dryness. In winter when outdoor air is dry and space cooler you might raise the setting slightly (e.g., 55%) so unit doesn’t run unnecessarily.
What happens if I set it too low?
You’ll overwork the dehumidifier, incur higher energy use, and potentially over-dry structural wood or materials. You may also shorten the unit’s lifespan.
How do I know if my setting is working?
Check the RH sensor reading via built-in display or Wi-Fi app. Also look for signs: less sweating on joists/floor, no musty odor, stable wood framing. If RH is staying well below target or unit is barely running, you might raise the target slightly. If RH drifts high or unit runs constantly, you may need a lower target, higher capacity unit, or fix sources of moisture.
Conclusion
Getting your crawl space dehumidifier settings right is just as important as having the right unit installed. Aim for a target of around 50% RH, use automatic fan/pump modes, enable alerts if available, and adjust seasonally as needed. Setting it correctly protects your home structure, prevents mold, and keeps the unit running efficiently.


