Guess what, the evident water lines on ceilings or walls might be an initial signal that the affected drywall should be replaced. Wet drywall is a common problem following floods, leaks, or too much indoor dampness. So, homeowners often wonder, Do you have to replace drywall if it gets wet?
The answer relies on various factors, such as how much water the drywall sucked up, how long it remained wet, and if mold started developing. Acting immediately can be of value. Today’s blog will describe what happens when drywall gets wet, how to dry drywall efficiently, and when replacement is required, along with the role of crawl space dehumidifiers to help avoid humidity problems before they begin.
What Happens to Drywall When It Gets Wet?
Before we explore, does wet drywall always need to be replaced? It’s important to know what happens when drywall gets wet. Drywall is composed of a gypsum centre between double layers of paper.
The material soaks up dampness easily, which can lead to quick harm. When drywall becomes wet, it swells, weakens, and softens. The harm might not appear at once, but it can increase rapidly if neglected.
Short-term effects
-
Wet drywall might swell or weaken
-
Paper covering can peel or change color
-
Water in drywall can cause smells or stains
Long-term effects:
-
Mold in drywall can form within 24-48 hours.
-
Drywall could collapse or lose strength when water remains stuck.
-
Humidity is distributed to insulation, studs, or other close by surfaces.
When the drywall remains wet for a really long time, or when the water is muddy (such as from flooding), it becomes risky to keep. Drywall with mold is particularly dangerous for indoor air quality.
When Do You Have to Replace Drywall?

While handling wet drywall, the key is to examine the harm and the origin of the water. Not all wet drywall has to be replaced. However, there are strong signals that indicate when replacement is needed.
In case you observe mold in drywall or in case the wall seems soft or bended, the damage has already begun. Once drywall no longer has its form or stability, it can’t be fixed. When wet drywall is not dried up within the first 48 hours, it typically calls for replacement.
Mold develops quickly when water in drywall is left uncontrolled. Even confined spaces can become risky when mold begins growing inside the walls.
Signs That Require Replacement
-
The drywall weekend or swells.
-
It remains soft following drying efforts.
-
You notice or smell mold in drywall.
-
The wall was flooded by dirty sewage or floodwater.
-
The water subjection continued for more than two days.
Localized Replacement Is Possible
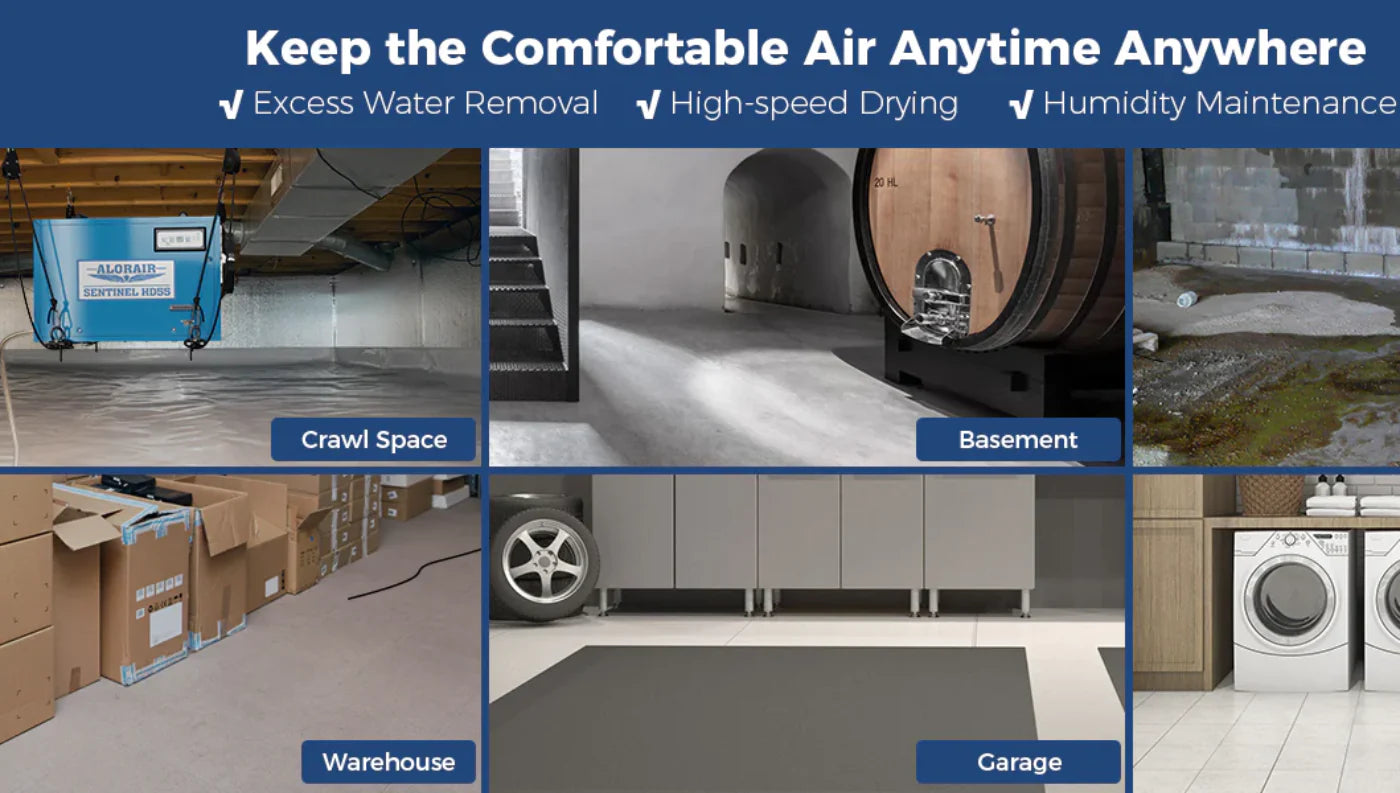
When just a small part is destroyed, you can cut off and change that section. But, in danger zones such as crawl spaces or basements, entire wall replacement is mostly secure. These areas remain damp and make it difficult to dry out the drywall completely.
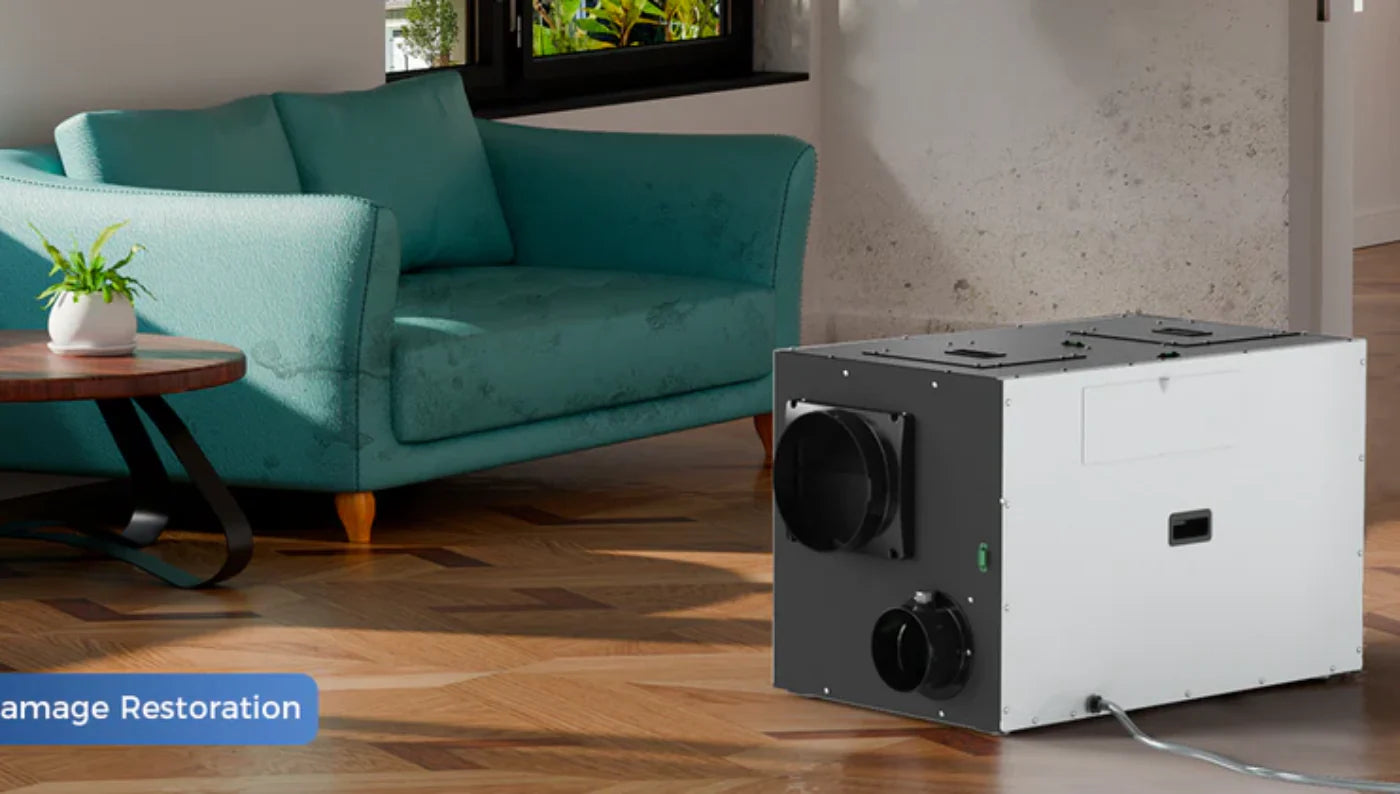
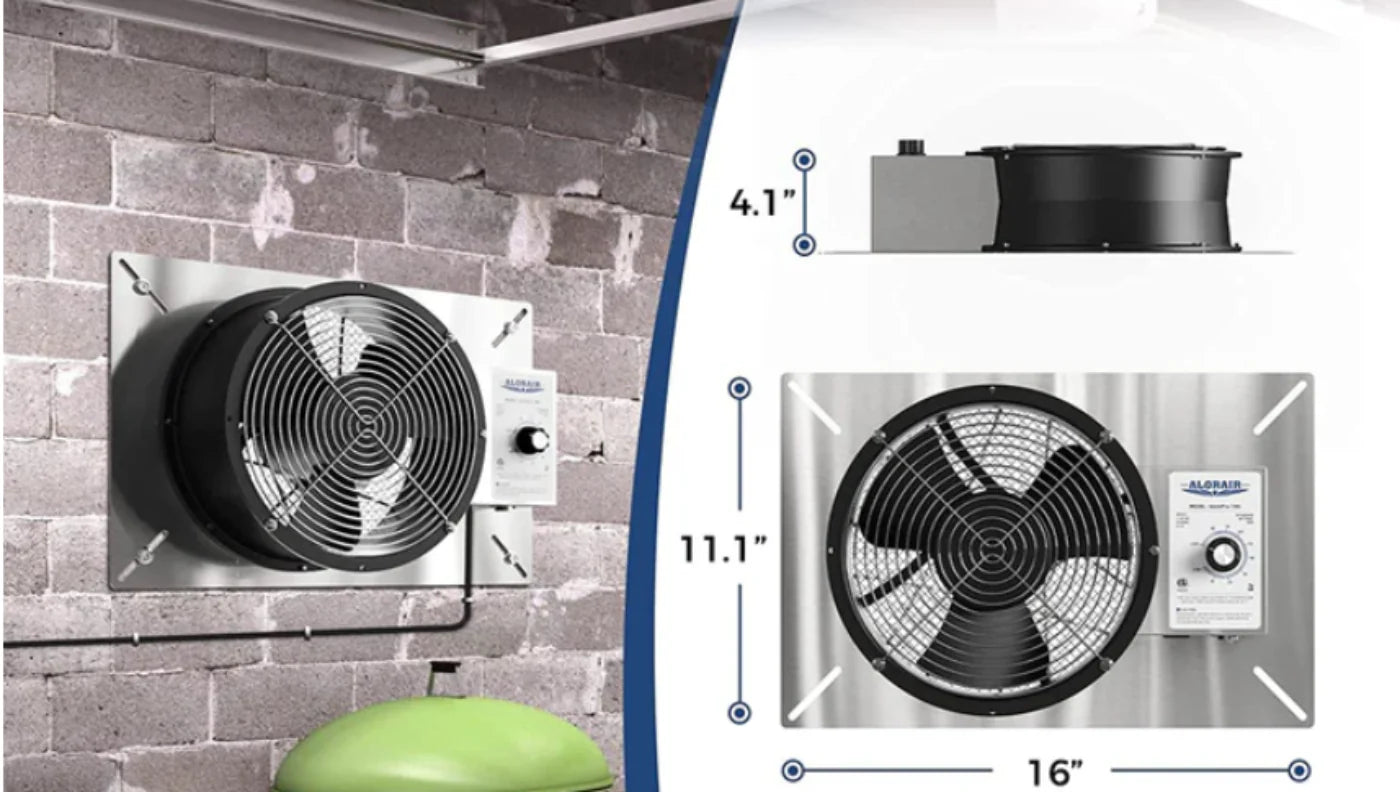
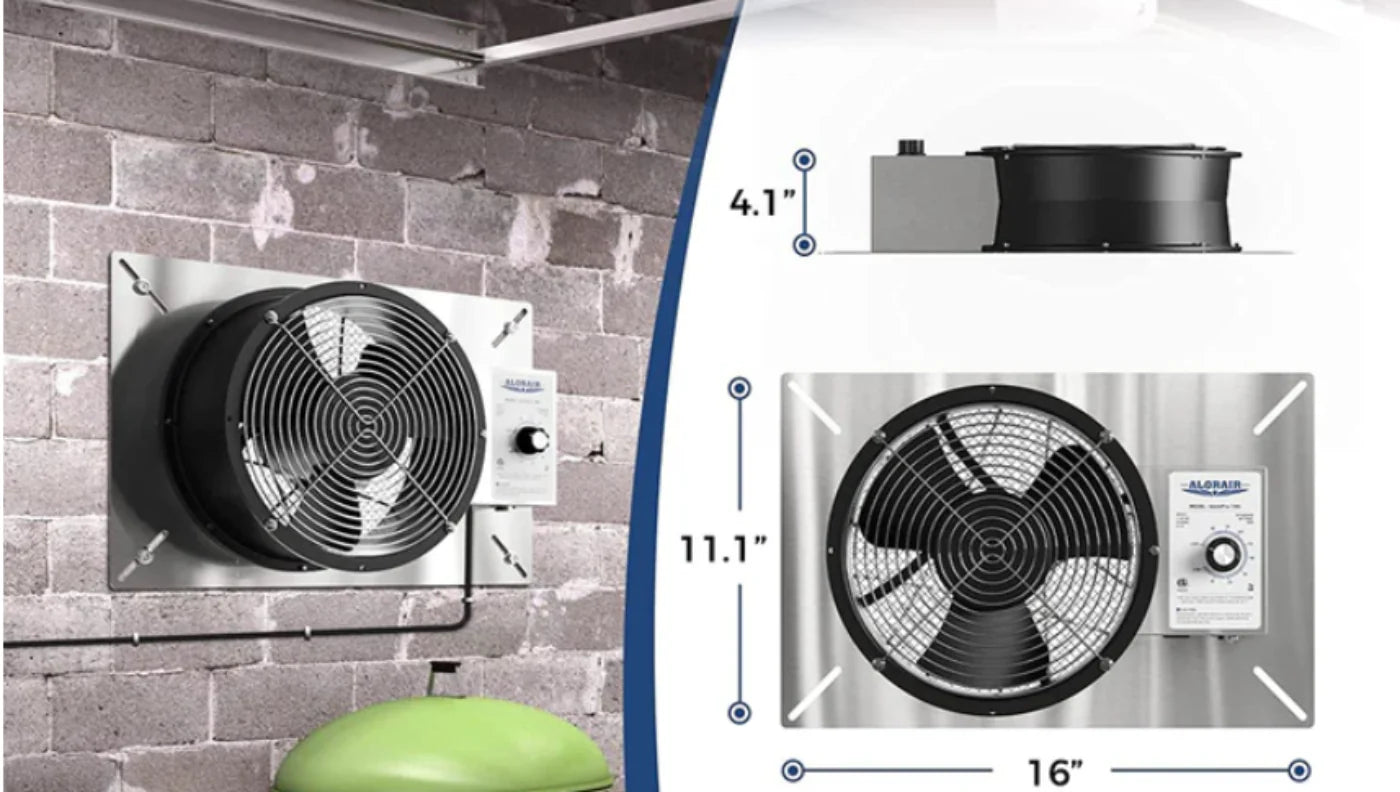
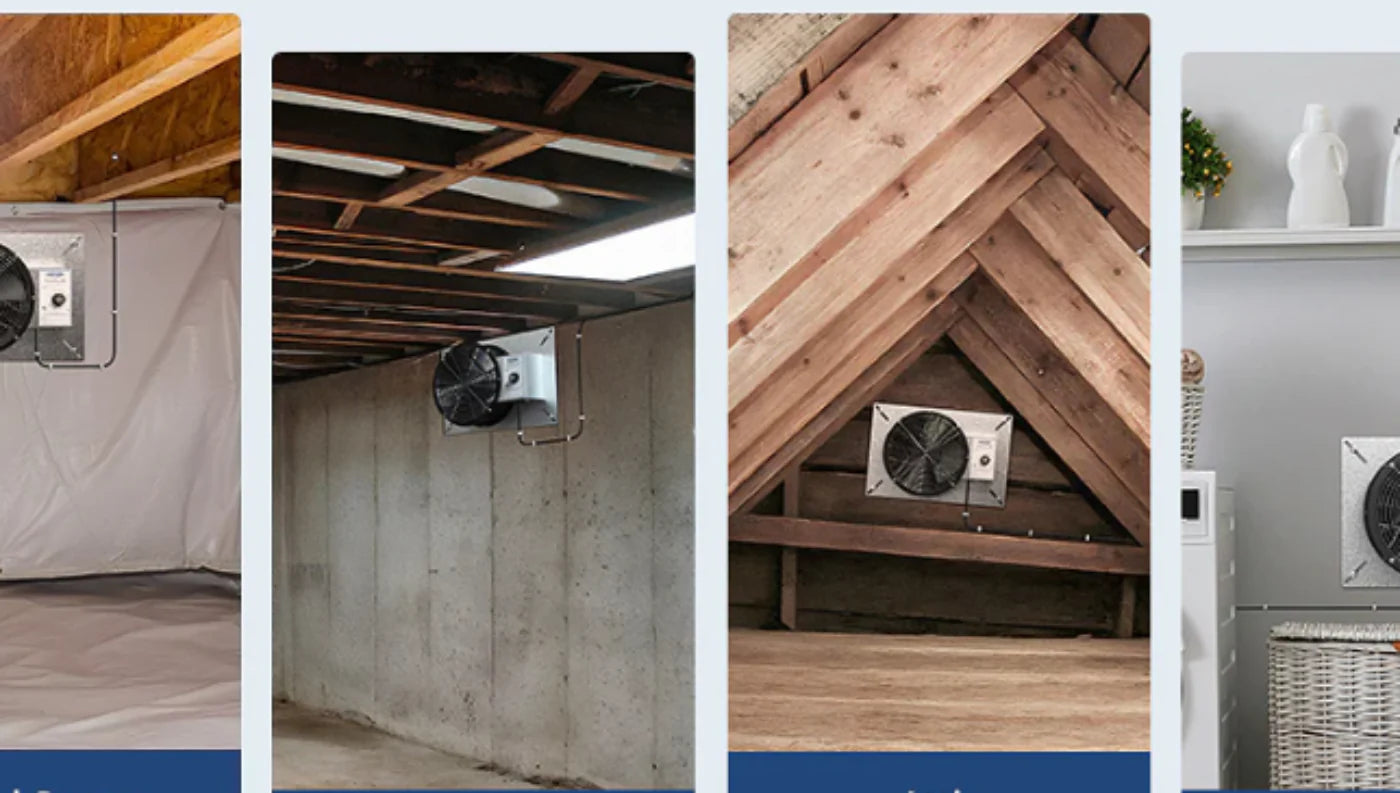
Therefore, investing in a crawl space dehumidifier assists in keeping dampness low and saves drywall from continuous harm. Also, a crawl space exhaust fan helps clear away humid air and stop humidity growth.
How to Replace Drywall?

Follow the steps below to successfully replace the drywall and restore the look and well-being of your house:
Ensure Safety First
Before you begin, turn off the power to the damaged zone to prevent an electric shock. Also, wear gloves, protective goggles, and a dust mask to save yourself from waste and possible mold germs.
Identify and Fix the Water Source
Find out the place from where water is originating, be it a leaky roof, pipe, or window. Repair the origin to avoid the potential destruction before drywall replacement.
Remove the Damaged Drywall
Grab a pencil and even define the affected area, ideally in a square or rectangular shape for convenient replacement. With a drywall saw or utility knife to cut along the decided lines to take out the damaged drywall. Examine the open area for mold or mildew. In case it exists, cleanse it completely and talk to an expert.
Dry the Exposed Area
Make sure the space is thoroughly dried out to avoid mold formation. For this use, exhaust fans and dehumidifiers are used. Give enough time for drying before setting new drywall.
Install New Drywall
Cut a new section of drywall to adjust the hole accurately. Install the new drywall into the hole and fix it with drywall screws into the beams.
How to Prevent Future Drywall Water Damage?
Preventing water damage is simple and affordable in comparison to repairing it. When you know what takes place when drywall gets wet, it becomes obvious why keeping dampness out is necessary.
Fix Leaks and Drainage Issues
Begin with easy steps. Restore plumbing leaks, roof issues, and window holes as early as you observe them. Typically, water in drywall stems from small, unseen leaks that are insignificant until harm appears.
Control Humidity in Risk Zones
Crawlspaces and basements are particularly exposed to humidity increase. Here comes the role of crawl space dehumidifiers.
The unit functions constantly to keep the space dry. Besides, by maintaining humidity under 50%, they help avoid mold in drywall and save the structure of your house.
Improve Outdoor Drainage
Make sure your gutters are clean and water runs away from your home. Bad drainage lets water gather near the base, which might leak into the walls and generate more issues.
Seal Entry Points and Consider Encapsulation
Apply concrete to shut off any gaps in the foundation. In case water issues persist, encapsulating the crawl space can be of use. This process hinders dampness and lowers the possibility of drywall harm.
Avoid Covering Damage with Paint
Do not paint again, wet or discolored drywall. Paint catches humidity, which makes the damage intensify. Always confirm the drywall is entirely dry before applying any coating.
Step-by-Step: How to Dry Out Wet Drywall Properly
Finding wet drywall can be distressing. However, you can prevent more harm and save money with quick action. Here’s how to dry drywall utilizing a protected and effective procedure.
-
Step 1: Discover and Stop the Water Source: Begin by locating the place where the water is originating from. Repair leaking roofs, pipes, or drainage problems. The initial step before drying out is stopping the flow of water.
-
Step 2: Take out Surface Water: Utilize a wet/dry vacuum or towels to remove surface water. Carry this out instantly to restrict how much water the drywall sucks.
-
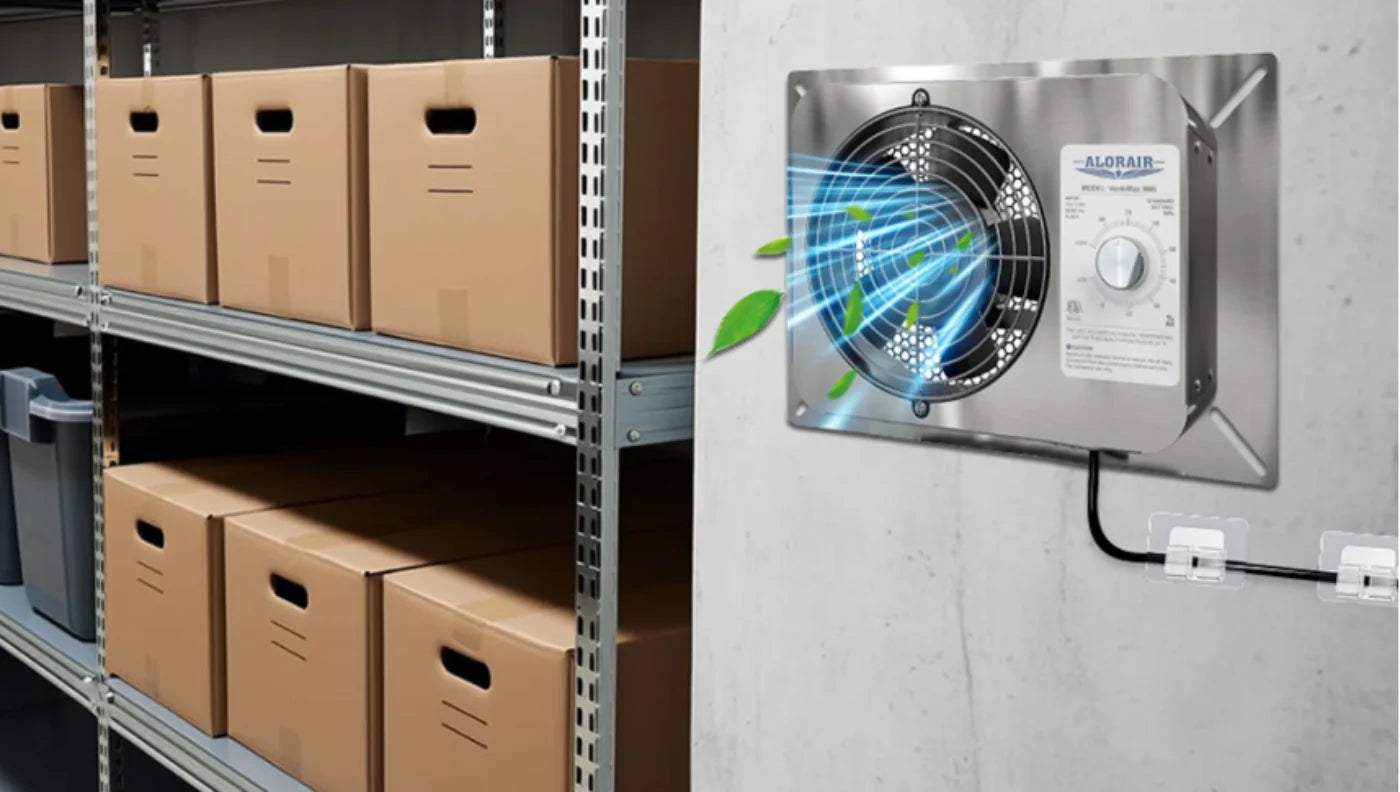
Enhance Air Movement: Unlock doors and windows to pull in clean air. Install a crawl space exhaust fan to carry air across the wet space. Enhanced air circulation aids in attracting dampness from water-damaged drywall.
-
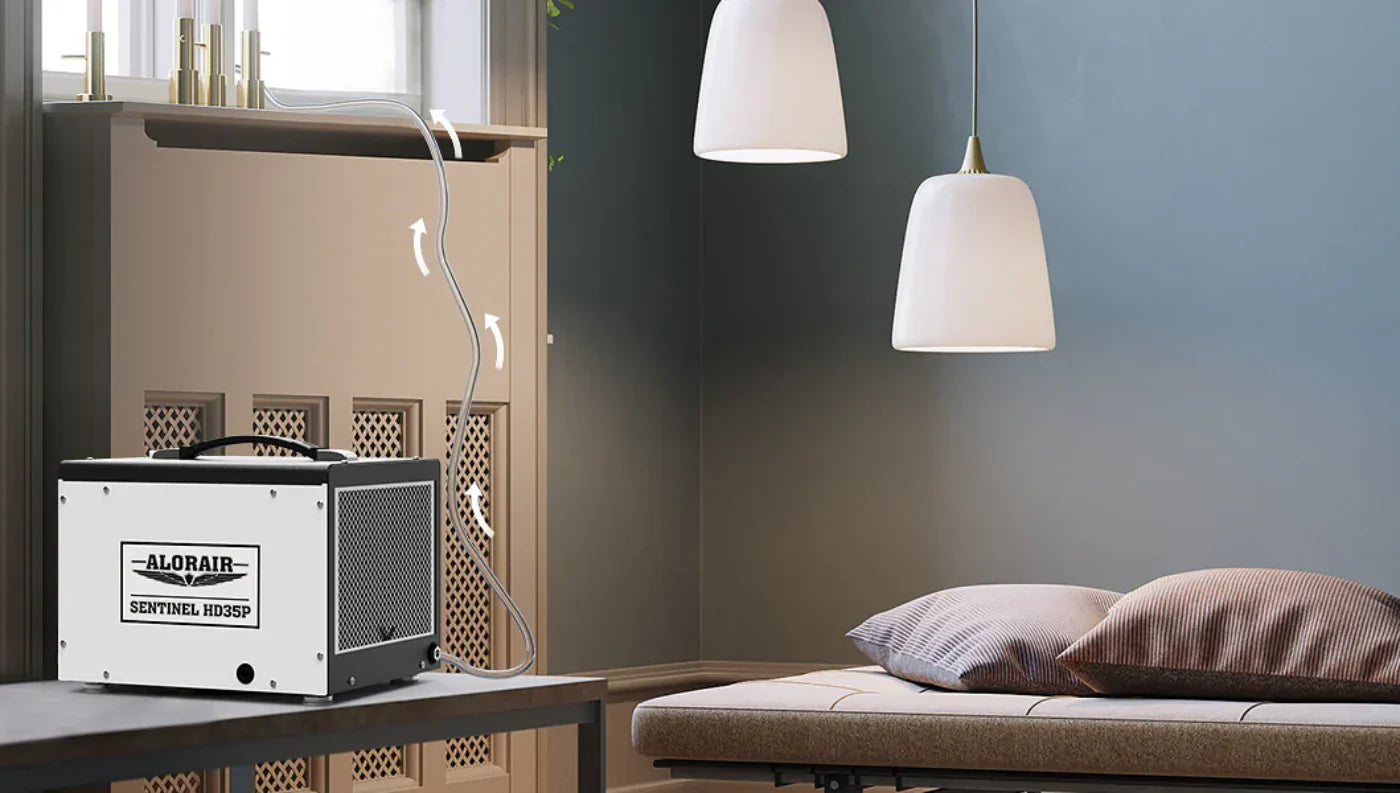
Step 4: Use a Crawl Space Dehumidifier: A crawl space dehumidifier is made to extract humidity in small or humid areas. It maintains low humidity levels and assists the drying procedure. That said, install it closeby to the impacted space and operate it till the drywall feels dry and humidity readings are normal.
-
Step 5: Remove Baseboards and Trim: Attentively move baseboards to allow air to drop behind the wall. Dampness mostly hides in such invisible spaces. Also, taking off the trim assists the wall dryout quickly and avoids mold formation.
-
Step 6: Drill Small Holes if Required: When water passes into the wall, drill small holes closer to the base. This permits air to move inside and aids in drying the wall gaps. Make sure to observe the space for mold.
Drying up wet drywall requires hard work and the correct equipment. Crawlspace exhaust fans and crawl space dehumidifiers make this technique more successful and save your home from further harm.
Conclusion
So, does wet drywall always need to be replaced? In several scenarios, yes. Specifically, when the water stays for a long time, or mold emerges. Wet drywall is not only a superficial issue. It can pave the way to invisible problems that impact your whole house. You can prevent replacement when you act soon and dry the wall in 48 hours. However, if signs such as mold, drooping, or weak spots show, replacement is typically the best choice.


