


Did you know that not maintaining your whole house dehumidifier can result in more than just musty smells or higher energy bills? If not properly managed, indoor humidity can cause black mold growth, structural deterioration, and serious respiratory health problems. For homeowners in humid regions like Alabama, Georgia, or Florida, maintaining proper humidity levels isn’t just a comfort issue. It’s a health and safety issue.
The ideal indoor humidity level lies between 30% to 50%. Achieving and maintaining this level consistently requires owning and regularly maintaining a dehumidifier. Just like a car or HVAC system, your dehumidifier must be maintained to work efficiently and last longer. This article will walk you through a step by step guide to dehumidifiers. From installation to routine cleaning and performance checks, you’ll learn how to keep your whole house dehumidifier running smoothly and problem-free.
Why Whole House Dehumidifier Maintenance Matters
Whole house dehumidifiers aren’t just a luxury. It is a comfort and health tool. Humidity over 60% makes indoor air a paradise for allergens, mould, mildew, and dust mites. Condensation on the window panes, a musty odor in the closet and basements, or aggravated allergy attacks are the indications you might see.
An efficiently maintained dehumidifier ensures indoor humidity remains within the ideal 45%–50 % range. However, if not attended to regularly, the machine clogs up, works excessively hard, or even collapses, exposing your property to destruction and bad air.
Step 1: Install the Dehumidifier Correctly

Even the best dehumidifier won’t work well if it’s installed incorrectly. Poor installation can result in excess vibration, water leakage and system failure. Follow these best practices during installation:
Place the Unit on a Level Surface
The stability of your central dehumidifier for house directly affects its performance. Place the unit on a dry, stable and level surface, whether it’s a concrete floor, platform or shelf that can support its weight. Secure units mounted in attics or lofts using brackets or strapping systems that can bear the load.
Add vibration isolation pads under the dehumidifier to reduce noise and prevent excessive shaking during operation. Use a level tool to check if the unit is completely flat, as tilting can cause serious drainage issues, error codes or internal water accumulation that can damage components over time.
Close the Windows and Doors
Closing the windows and doors is necessary to optimize the dehumidifier's efficiency. Having open windows requires your dehumidifier to treat moisture from the environment outside instead of dealing with the interior of your house alone.
Therefore, the machine has to work a lot harder, using more electricity with less output. Closing the door to the localized area of moisture trouble further increases the performance by focusing the dehumidifying action.
Maintain Proper Air Flow Around the Equipment
Proper air circulation around your entire house dehumidifier is essential for proper functioning. Place the unit 6-12 inches away from walls and other objects so air can enter and exit freely.
Proper air circulation across your full house dehumidifier is important for proper functioning. Place the unit a minimum of 6-12 inches from walls and obstacles in order for the unit to draw in and exhale air freely. Never locate the unit in small corners with a limited passage of air.
It is usually best if the dehumidifier is placed in a central location of a large space since this is more efficient in drawing humid air towards it and dispersing dry air throughout the space evenly.
Step 2: Clean and Replace Key Components Regularly

Regular cleaning is your best safeguard against breakdowns. Registers, coils, grilles, and reservoirs all have the potential to trap dust, debris, and mildew unless they get cleaned.
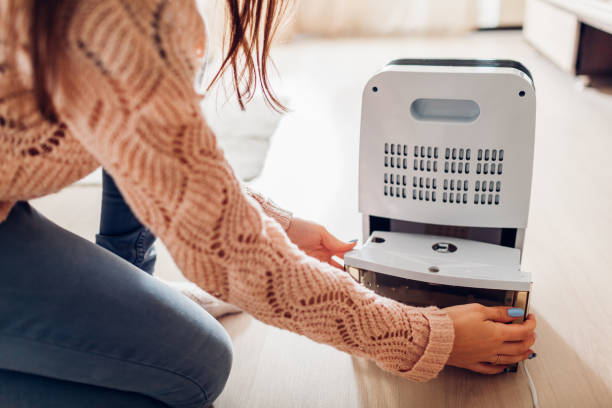
Clean the condensate bucket regularly
The condensate bucket stores water removed from the air and needs routine cleaning to prevent the growth of bacteria and mold. First, disconnect the dehumidifier before you pull out the bucket. Drain the water and wash the bucket with warm water.
Combine an equal amount of water and vinegar in a spray bottle for more intense cleaning and spray the interior surfaces. Let the solution rest for 10-15 minutes in order to kill any mold or mildew. Rinse well and allow the bucket to completely air dry before putting it back together. This should be cleaned every 1-2 weeks based on the level of humidity as well as the number of uses.
Clean the air intake and exhaust grilles
Dust and debris can block the intake and exhaust grilles, lowering airflow and efficiency. Situated generally on the front/side (intake) and rear/top (exhaust) of the unit, these need monthly care.
Remove loose debris from the grilles using a vacuum with a brush attachment. Use a soft brush or a damp cloth with mild detergent for stubborn dirt. Sometimes you might have to dampen a rag with mild detergent and rub off residue. The grilles should be fully dry before running the dehumidifier again.
Change or Replace the Air Filter as Necessary
The filter traps dust, pollen, and other suspended particles of the air, ensuring improved air quality and safeguarding internal components. Cleaning the filter monthly is the general guideline most manufacturers offer, though more frequent cleaning might be necessary in high-use periods.
Simply rub a washable filter under running lukewarm water with a soft-bristled brush as needed. Lest you damage the filter material, avoid using hot water. Dry filters before putting them back in place. Replace a damaged or non-cleanable filter according to the manufacturer's instructions, usually within three months for best performance.
Step 3: Check for Common Problems

Spotting issues early can save you hundreds of dollars. Even well-maintained systems can develop minor problems. Here’s what to look for:
Frost on the Coils
Frost on the evaporator coils means your dehumidifier isn’t working properly. This usually occurs when the room temperature is below 65°F and moisture freezes instead of condensing. Most dehumidifiers work well at 65°F or above; anything lower risks ice formation.
Complete frosting across all coils means the ambient temperature is too cold. Partial frosting means refrigerant problems or a failing compressor. Running a dehumidifier with frosted coils can damage the compressor permanently. Then turn off the unit and let the ice melt naturally. Consider moving the dehumidifier to a warmer location or adjusting your home’s temperature.
Clogged Drain Line
Drain line blockages are the number one cause of water leakage issues. Signs of clogged drain lines include water pooling around the unit, overflowing from the drain PVC or the dehumidifier suddenly stopping drainage altogether.
Examine the entire drainage path from the unit to the drain outlet to check for clogs. Make sure the hose isn’t kinked or sitting in standing water which can impede drainage. For deep cleaning use a shop vacuum at the end of the attached hose to clear obstructions.
Unusual Noises or Leaks
Unusual sounds mean mechanical issues need attention. Rattling or vibrating noises are usually due to loose internal parts, fan motors, compressor mounting brackets or screws.
Water leakage means drainage problems. Check if the water stopper is in place, as loose or degraded stoppers can drip water. Verify discharge hoses are connected securely without cracks.
Step 4: Check Humidity Levels and Settings
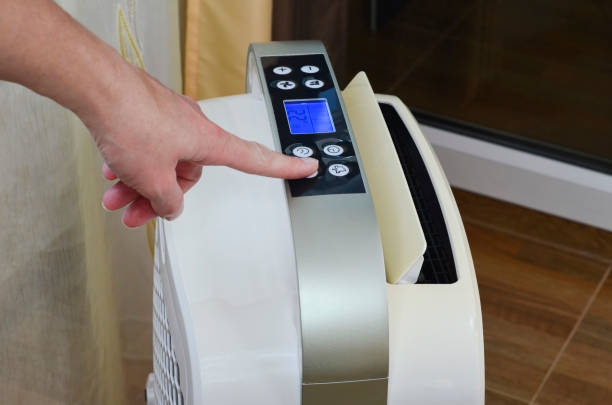
Proper use is key to a dehumidifier’s performance. Don’t set and forget, monitor regularly for maximum effectiveness.
Set Humidistat Between 45% and 50%
The humidistat controls how much moisture your dehumidifier removes from the air. For most homes, set it between 45% and 50%. This range prevents mold growth while maintaining comfortable breathing conditions.
In winter months, lower settings may be needed:
-
At -10°F outdoor temperature: 20%
-
At 0°F outdoor temperature: 25%
-
At 10°F outdoor temperature: 30%
-
At 20°F outdoor temperature: 35%
-
At 30°F outdoor temperature: 40%
Watch for condensation on windows as an indicator – if moisture forms on glass surfaces, your humidity setting is too high and should be lowered.
Avoid Short-Cycling the Compressor
Short-cycling occurs when your dehumidifier turns on and off frequently without completing full cycles. This stresses the system, decreases efficiency and can lead to premature failure. Wait at least 10 minutes between turning the unit on and off.
Short cycles prevent the dehumidifier from evaporating excess moisture. The system also needs time to equalize pressure to prevent overheating and circuit breaker trips.
Check Water Level in the Reservoir
Daily, check the condensate bucket to prevent overflow and continuous operation. Once full, most dehumidifiers will shut off until emptied. This safety feature protects the equipment but also means humidity levels rise while the unit is inactive.
Modern units have photoelectric liquid level sensors that detect when water reaches certain heights. Unlike older float ball systems that can stick or malfunction, these optical sensors are more reliable.
Step 5: Seasonal Maintenance
As the seasons change, so should your maintenance routine.
Spring Start-Up:
-
Clean or replace filters
-
Inspect coils for dust or corrosion
-
Test the drain line
-
Run a full cycle to test.
Summer:
-
Clean filters monthly
-
Check grilles for blockages
-
Look for high humidity signs (musty smell, damp spots)
-
Monitor daily
Fall Shutdown (if not used year-round):
-
Empty and clean the water bucket
-
Unplug the unit
-
Use a breathable cloth to cover it and prevent dust buildup.
Winter:
-
Only operate in heated spaces (above 65°F)
-
Use insulation wraps around external drain lines
-
Check for frost or ice buildup frequently
Bonus Tips for Better Performance
Sometimes a few extra tricks can make a big difference in performance and air quality:
-
Use Ceiling Fans to Circulate Air: Fans distribute dry air throughout the house, reducing the load on your dehumidifier.
-
Seal Cracks and Air Leaks: Gaps around windows, doors and crawl space vents let in humid outdoor air. Seal these openings with caulk or weatherstripping.
-
Use a Smart Thermostat: Pair your dehumidifier with a smart thermostat to automate operation based on indoor conditions. This can optimize runtime and efficiency.
When to Call a Pro
DIY maintenance covers the basics but some issues require professional attention. Call a pro if:
-
The unit trips your circuit breaker.
-
Frost forms despite proper room temperatures.
-
The unit leaks continuously.
-
No air flows through the system.
-
The humidistat gives erratic readings.
Certified HVAC technicians can check refrigerants, fix compressors, and adjust humidistats to keep your system working properly.
Conclusion
A whole house dehumidifier is essential for a healthy and comfortable living space, especially in high-humidity areas. Proper installation, regular maintenance and smart operation prevent mold growth, protect your property, save energy and extend the system's life. Follow this guide and you’ll be a pro at managing your indoor air quality year-round. Keep up with filters, coils, drain lines and humidistat settings and you’ll be ready. But schedule professional inspections and cleaning and you’ll be covered for any technical issues beyond that. Start your maintenance today and enjoy the peace of mind of a dry, fresh, and energy-efficient home. Don’t wait for issues to surface.
Need Moisture Help? Having trouble with humidity? Contact AloraAirCrawlspace for whole home dehumidification solutions.


