Stepping into a steamy, poorly ventilated bathroom is hardly a pleasant experience. Excess moisture can lead to unsightly mold, peeling paint, and that persistent, unpleasant odor. If you've ever wondered how to transform your bathroom into a fresh and airy space, installing a ventilation fan is the answer. A well-ventilated bathroom not only enhances comfort but also prevents long-term damage to your home. In this comprehensive guide, we’ll show you how to install a ventilation fan in a bathroom, helping you tackle humidity issues head-on. Whether you're upgrading an old fan or adding a new one, these straightforward steps will ensure a seamless and effective installation, setting you on the path to a healthier, more enjoyable bathroom environment.
Tools and Materials Needed
Before you begin the process of how to install a ventilation fan in a bathroom, gather all the necessary tools and materials. Having everything on hand will streamline the installation and help you avoid unnecessary interruptions.
List of Necessary Tools
Drill: For making holes and securing screws.
Screwdriver: Essential for fastening screws.
Wire Strippers: To prepare electrical wires for connections.
Stud Finder: To locate joists and avoid cutting into them.
Drywall Saw: For cutting the ceiling hole.
List of Materials Needed
Ventilation Fan Unit: Choose a fan suitable for your bathroom size.
Ductwork: Flexible or rigid ducting to connect the fan to the exterior vent.
Vent Cover: For the exterior of the house allow airflow out.
Electrical Wiring: Wires to connect the fan to the power supply.
Caulking: To seal around the exterior vent cap.
Safety Equipment
Gloves: Protect your hands from sharp edges and electrical components.
Goggles: Shield your eyes from dust and debris during installation.
These are some of the tools to install bathroom fans properly. Having these tools and materials ready will prepare you for each step of the exhaust fan installation process.
Step-by-Step Guide on How to Install a Ventilation Fan in a Bathroom
Follow these steps to install bathroom fan properly without any interruption.
Step 1: Planning and Preparation
Before you learn how to add a bathroom fan, proper planning and preparation are crucial. This will save you time and help avoid potential issues while installing ventilation fans.
Choose the Right Fan
Selecting the appropriate fan is essential for effective ventilation. Consider the size of your bathroom and the fan's airflow capacity, measured in cubic feet per minute (CFM). A fan with too low a CFM won't ventilate the space adequately, while one that's too powerful can be noisy and inefficient.
Budget for Installation
Consider the bathroom ventilation installation cost, including materials and any professional help you might need. Planning your budget helps in selecting the best fan within your price range.
Turn Off the Power
Safety first: Ensure the power to the bathroom is turned off at the circuit breaker. This step is crucial when learning how to add a bathroom fan to avoid any electrical accidents during the installation.
Step 2: Marking the Location
Accurate marking ensures that your fan will be effective and properly positioned.
Identify the Ideal Location
Find a spot on the ceiling where you want to install the bathroom fan. Ideally, it should be far from the door but close to the shower or bathtub to efficiently remove moist air.
Use a Stud Finder
Use a stud finder to locate ceiling joists. Mark the location of the joists to avoid cutting into them. The fan should be installed between the joists for structural stability and ease of installation.
Mark the Cutout Location
Trace the outline of the fan housing on the ceiling where you plan to install it. Ensure the cutout is properly aligned and centered. This will make the installation look neat and professional.
Step 3: Cutting the Ceiling Hole
Cutting the hole precisely ensures a snug fit for the fan housing, which is essential for effective exhaust fan installation.
Use a Drywall Saw
Using a drywall saw, carefully cut along the marked outline. Take your time to ensure the edges are smooth and the hole is the correct size. A clean cut makes the subsequent steps easier and ensures the fan fits perfectly.
Remove the Piece of Drywall
Once you've cut along the outline, gently remove the piece of drywall. Be cautious to avoid damaging the surrounding area. This step opens up space for the fan housing to be installed.
Step 4: Installing the Fan Housing
The next step involves securing the fan housing into the ceiling, ensuring it is stable and properly aligned.
Insert the Fan Housing
Carefully insert the fan housing into the ceiling hole. Align it with the marks you made earlier to ensure it fits snugly. If the housing has mounting brackets, adjust them to fit between the joists. This step may require an extra pair of hands to hold the housing in place while you secure it.
Secure the Housing to the Joists
Using screws, secure the fan housing to the ceiling joists. Ensure that the housing is flush with the ceiling surface for a neat finish. Double-check that it is firmly attached and does not wobble. A securely installed housing ensures that the fan operates quietly and efficiently.
Step 5: Running the Ductwork
Proper ductwork installation is crucial for effective ventilation.
Plan the Path for the Ductwork
Plan the shortest and straightest path for the ductwork from the fan housing to the exterior vent. A direct path minimizes airflow resistance and enhances the fan's efficiency. Measure the distance and cut the ductwork to the appropriate length.
Attach the Duct to the Fan Housing
Attach one end of the duct to the fan housing. Secure it with duct tape or clamps to ensure a tight connection. Run the ductwork through the ceiling or attic, directing it towards the exterior vent location. Make sure the duct is free of kinks and obstructions.
Tip: Use Insulated Ductwork
Using insulated ductwork can significantly improve the efficiency of your bathroom fan. Insulated ducts help to:
Minimize Noise: Insulation dampens the noise caused by air movement within the ducts, making the fan operation quieter.
Prevent Condensation: Insulated ducts reduce the risk of condensation forming inside the ductwork, which can lead to mold growth and water damage.
Step 6: Wiring the Fan
Wiring the fan correctly ensures it operates safely and effectively.
Connect the Electrical Wiring
Connect the electrical wiring from the fan to the household circuit. Match the wire colors: black to black (hot), white to white (neutral), and green or bare to ground. Use wire nuts to secure the connections and wrap them with electrical tape for added safety.
Expert Tip: Match the Wire Colors
Double-check that all wire connections are secure and properly matched. Loose or incorrect connections can lead to electrical issues or malfunction. Ensure all connections are tight and covered with wire nuts.
Tip: Choose a Fan with a Built-In Humidity Sensor
Investing in a fan with a built-in humidity sensor offers several advantages:
Automatic Operation: The sensor detects moisture levels and automatically turns the fan on and off as needed. This ensures that the bathroom remains dry without you having to remember to switch the fan on.
Energy Efficiency: Automatic fans run only when necessary, which helps to save energy and reduce electricity bills.
Step 7: Installing the Exterior Vent
Installing the exterior vent allows the humid air to escape outside.
Cut a Hole for the Vent Cap
Cut a hole in the exterior wall or roof where the vent cap will be installed. The hole should match the size of the vent cap to ensure a proper fit. Use appropriate tools for cutting through different materials, such as siding or shingles.
Attach the Vent Cap
Attach the vent cap to the end of the ductwork. Secure it to the exterior surface with screws, ensuring it is firmly attached. Seal around the vent cap with caulking to prevent any leaks or drafts. This step ensures that the vented air is properly expelled outside.
Step 8: Testing the Fan
Testing the fan ensures it operates correctly and efficiently.
Restore Power and Test the Fan
Restore power to the bathroom at the circuit breaker. Turn on the fan and check that it runs smoothly. Listen for any unusual noises and ensure that it effectively vents the air to the outside. Verify that the exterior vent is expelling air properly.
Tip: Regularly Clean the Fan and Vent
Maintaining your bathroom fan is essential for optimal performance:
Remove Dust and Debris: Periodically clean the fan blades, motor, and vent cover to prevent dust buildup, which can hinder airflow and reduce efficiency.
Check for Blockages: Ensure that the exterior vent is free from obstructions like leaves or bird nests that can block airflow.
By following these detailed steps, you’ll complete the exhaust fan installation, improving your bathroom's ventilation and air quality.
Additional Ventilation Options
While installing a bathroom fan is a highly effective method for managing moisture, there are additional options to consider, especially if your bathroom faces persistent humidity issues.
Window Bathroom Vent
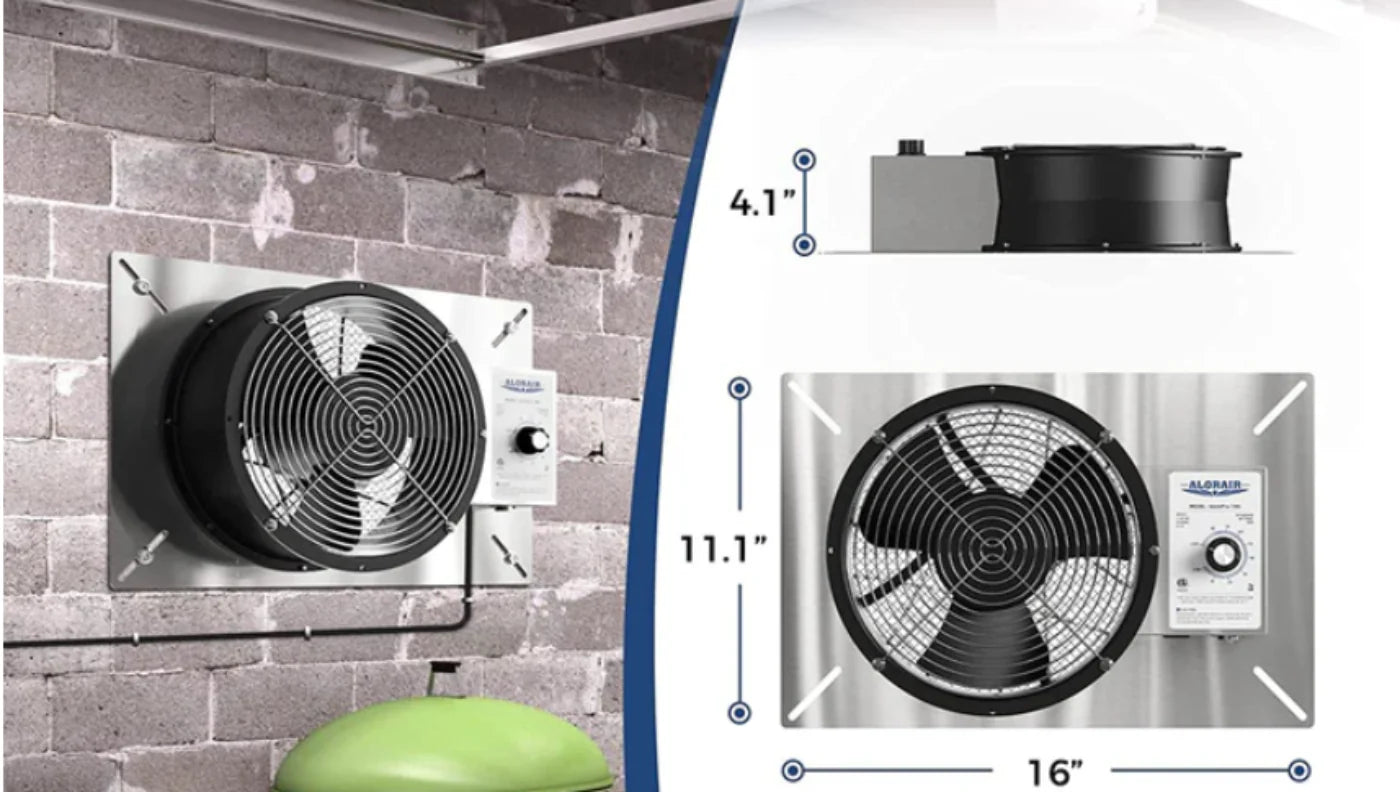
A window bathroom vent can be a practical solution if ceiling installation is not feasible:
Ease of Installation: Window vents are relatively easy to install and can be an excellent alternative for bathrooms without ceiling access.
Effective Ventilation: They provide a direct path for moist air to escape, reducing humidity levels.
Crawl Space Dehumidifier
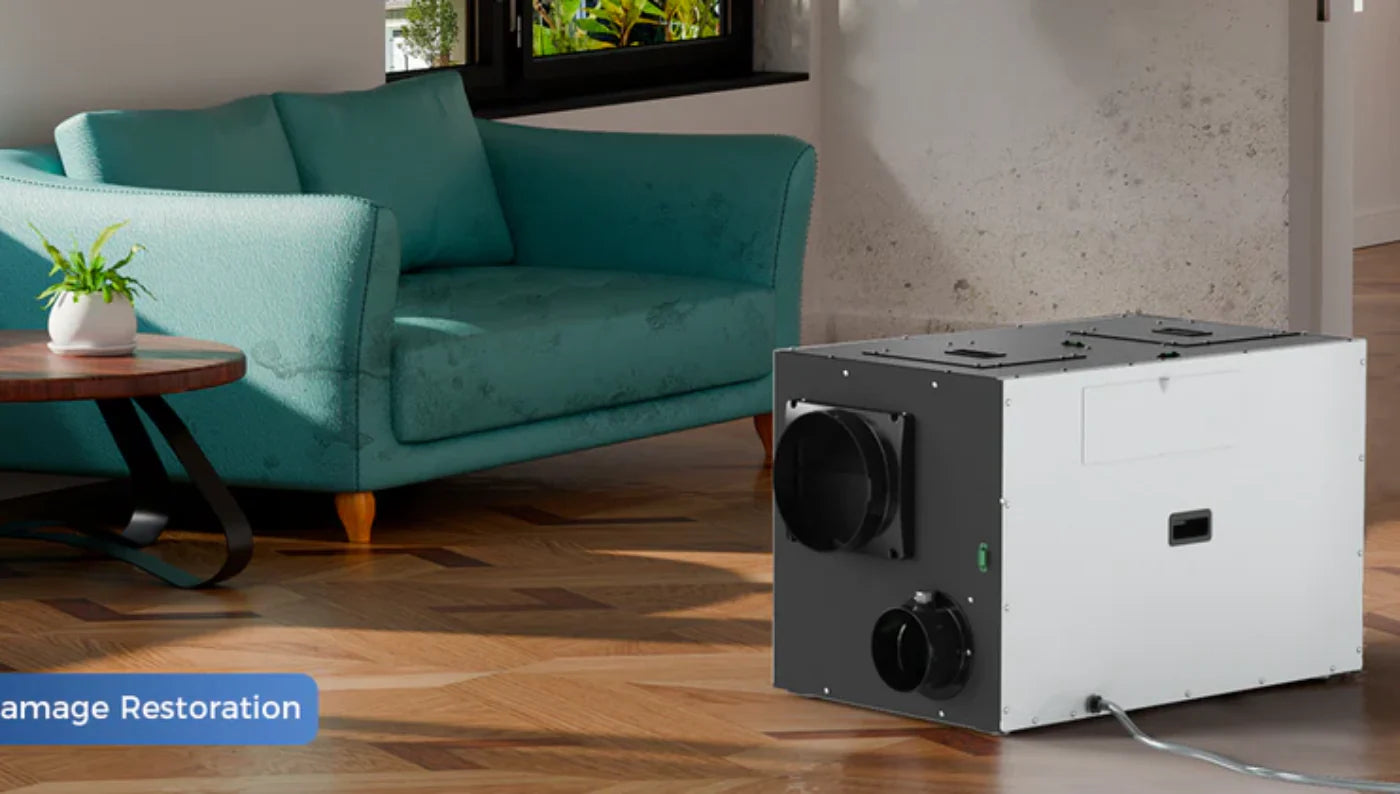
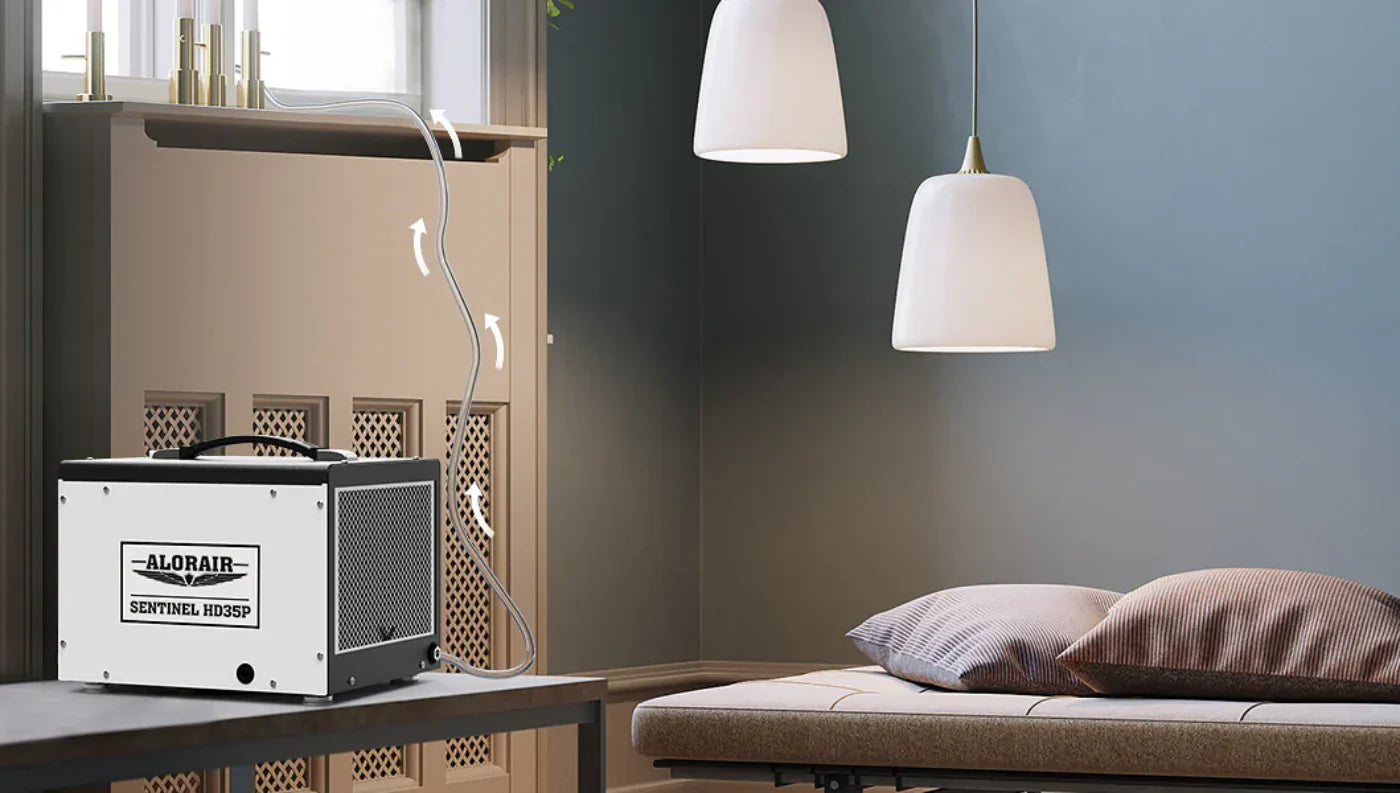
For comprehensive moisture control, consider using a crawl space dehumidifier from AlorAir Crawlspace:
Enhanced Moisture Control: A crawl space dehumidifier can help manage humidity levels in your entire home, including the bathroom.
Prevent Mold and Mildew: By reducing overall moisture, these dehumidifiers help prevent mold and mildew growth, protecting your home and health.
Bathroom Ventilation Installation Cost
Understanding the costs associated with installing a bathroom fan can help you budget effectively:
Factors Affecting the Bathroom Ventilation Installation Cost
Fan Type and Features: Basic fans are less expensive, while models with additional features like humidity sensors or built-in lights cost more.
Ductwork Length and Complexity: The distance and complexity of the ductwork route can impact the installation cost.
Labor Costs: If you hire a professional, labor costs will vary based on the complexity of the job and local rates.
Cost Breakdown
Basic Fans: $50 - $100
Mid-Range Fans: $100 - $200 (with additional features like lights or sensors)
High-End Fans: $200 - $500 (with advanced features and higher CFM ratings)
Professional Installation: $150 - $500 (depending on complexity and local rates)
Conclusion
Installing a ventilation fan in your bathroom is a straightforward project that can significantly improve air quality and reduce moisture-related issues. By following the detailed steps outlined in this guide, you can ensure a successful installation. Remember to choose the right fan, plan the installation carefully, and maintain the system regularly for optimal performance. If you’re looking for additional moisture control, consider the benefits of a window bathroom vent or a crawl space dehumidifier from AlorAir.
Are you ready to take your bathroom’s ventilation to the next level?
For more advanced moisture control solutions, visit AlorAir Crawlspace. Explore our range of high-quality dehumidifiers and ventilation products designed to keep your home comfortable and dry. Don’t let humidity compromise your living space—take control today with AlorAir’s reliable and efficient products.


