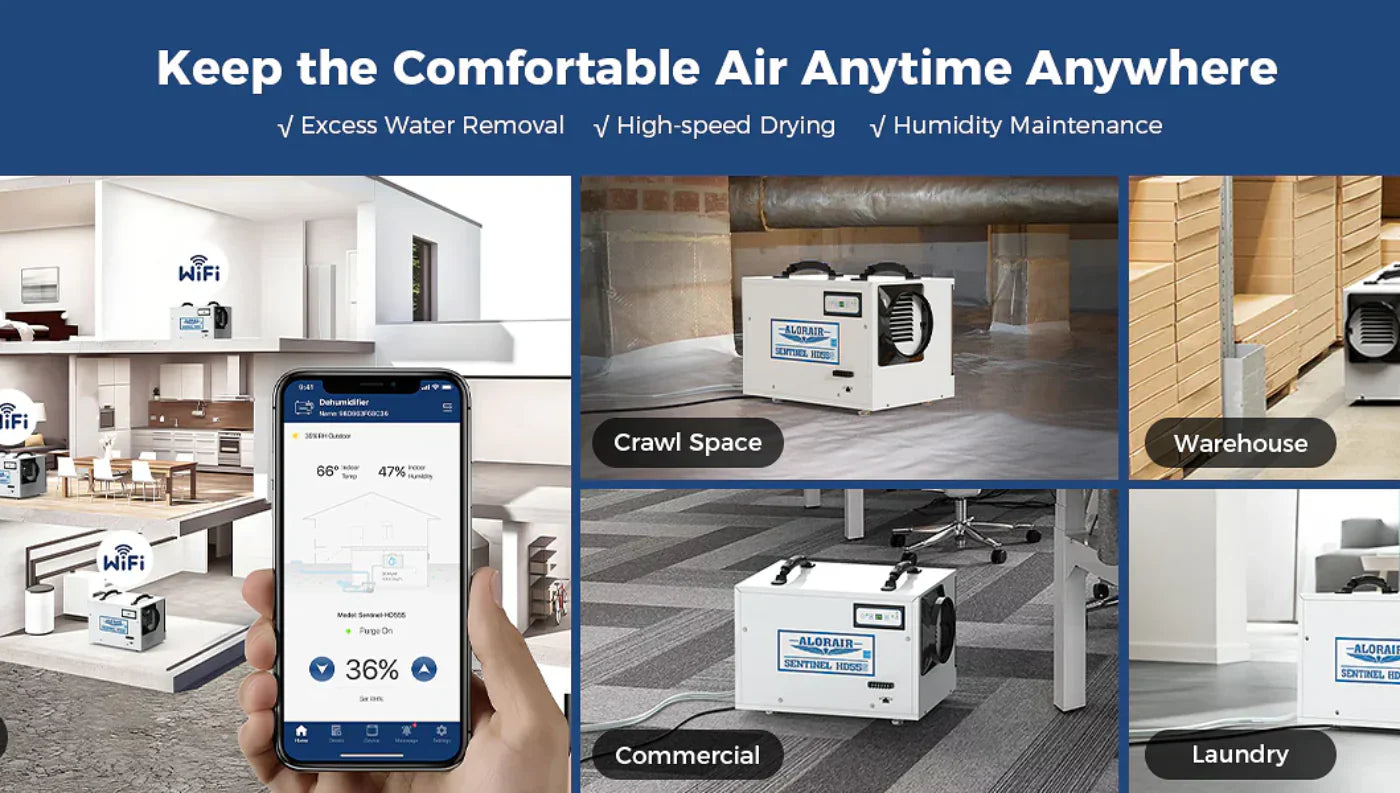
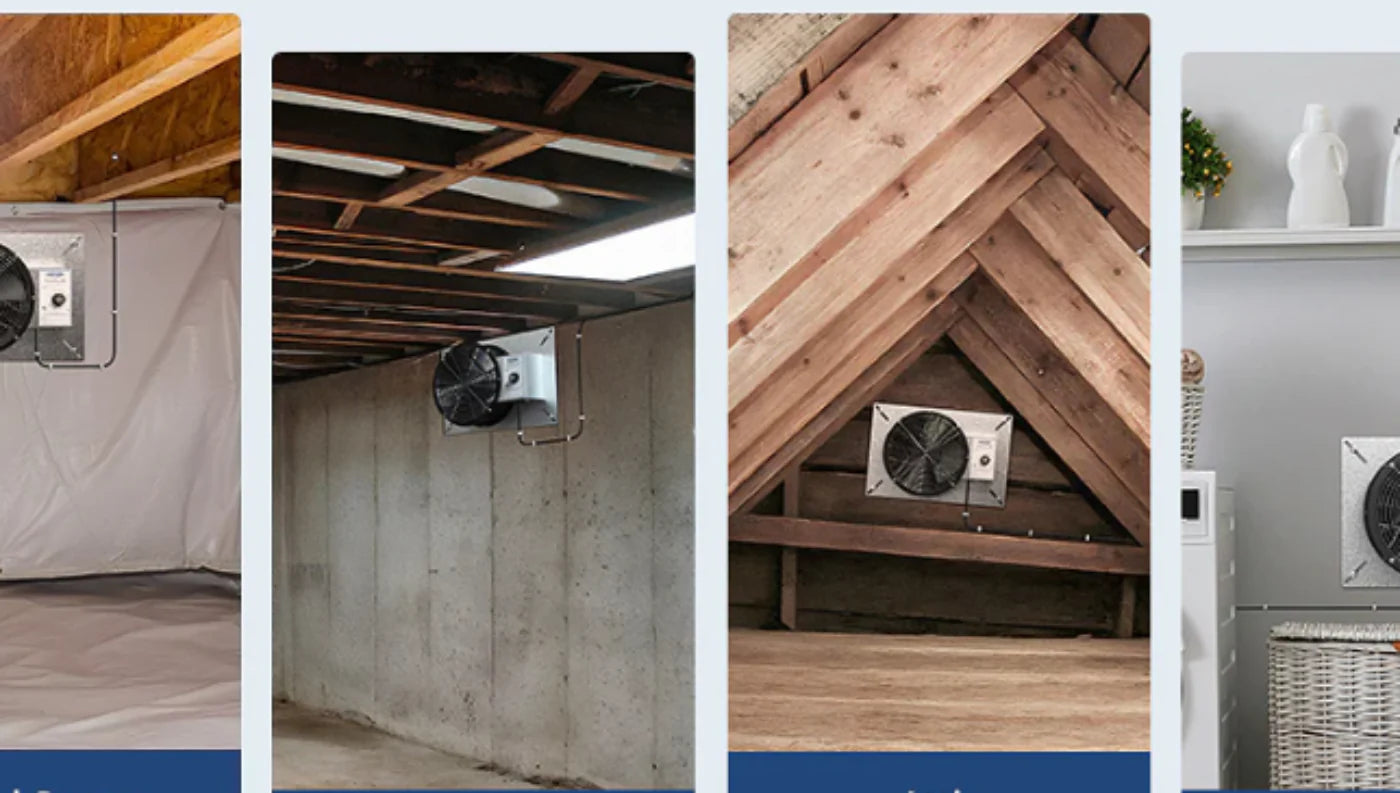
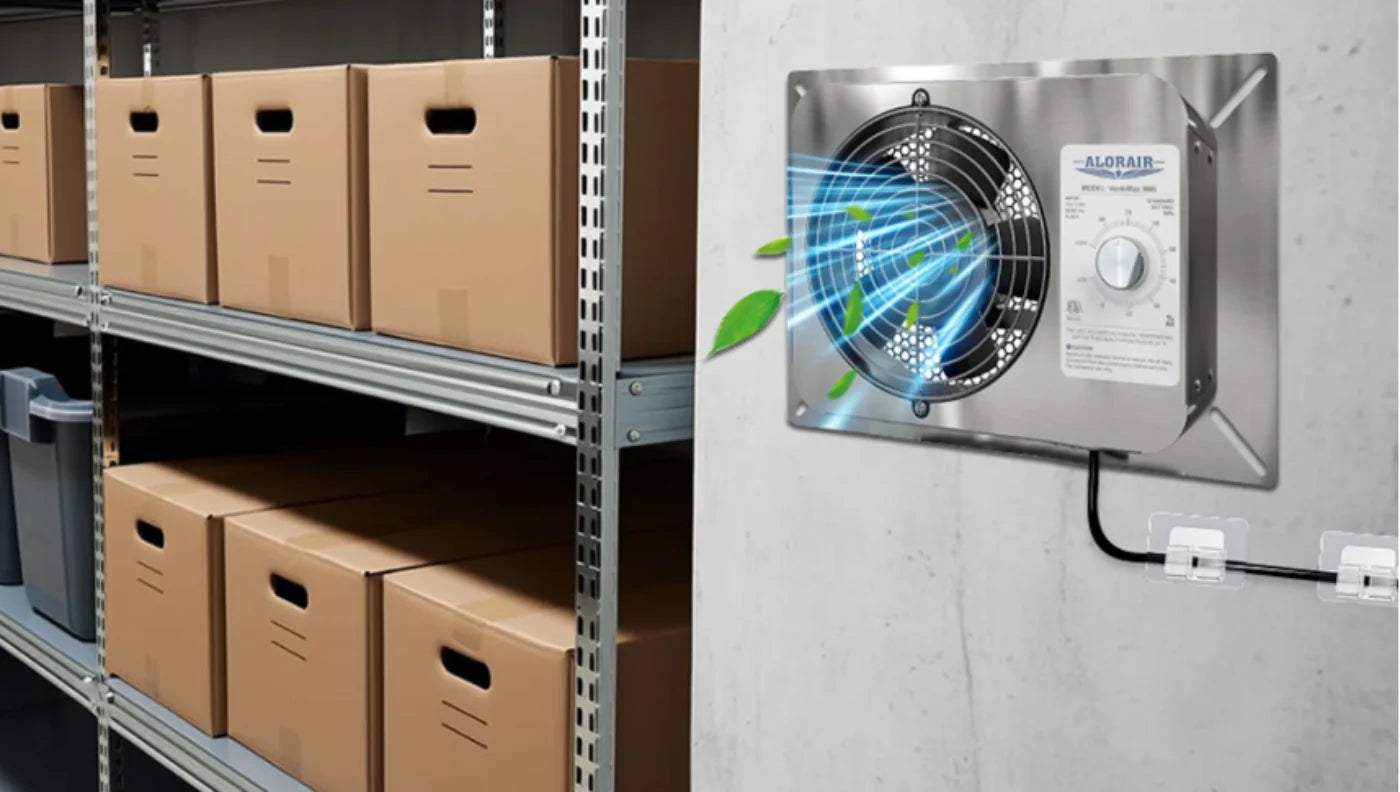
Moisture in a crawl space can lead to mold, musty odors, wood rot, and higher energy bills. A dedicated crawl space dehumidifier solves the problem by keeping humidity steady usually around 50%. This simple guide shows you how to install a crawl space dehumidifier safely and correctly, with plain language and clear steps.
We’ll cover where to place a dehumidifier in a crawl space, drainage options, basic wiring/safety tips, and easy post‑install checks. The steps are DIY‑friendly for most homes. If wiring or ducting is needed, call a licensed pro.
Quick takeaways
- Best placement: central area with clear airflow, level surface, near power & drain path
- Drainage: gravity to floor drain/sump or a condensate pump
- Targets: set humidity to ~50% RH (45–55% is common)
-
Maintenance: clean/replace filters and check the drain line regularly
What You’ll Need (Tools & Materials)
- Crawl space dehumidifier (sized for your space)
- User manual (keep it nearby)
- Level & measuring tape
- Utility knife or snips (for hose/liner)
- Adjustable wrench & screwdriver
- Drain hose (often included) or condensate pump kit
- Hose clamps/zip ties, Teflon tape (if fittings require)
- Vapor barrier (recommended) and tape/staples if encapsulating
- Riser pad or blocks to keep the unit off the ground
- Safety glasses, work gloves, headlamp
Safety first: Use a grounded outlet. Do not use extension cords or adapters. If in doubt about electrical load or outlet location, hire an electrician.
Where to Place a Dehumidifier in a Crawl Space
Good placement makes everything easier and more effective:
-
Central & clear airflow
Set the unit near the middle or where it can “see” the largest volume of air. Avoid tight corners. -
Off the ground, on a level base
Use a riser pad, blocks, or feet to level the unit and keep it above any puddles, dust, or debris. -
Keep clearance
Leave open space around intakes and outlets (aim for a foot or more if possible). Don’t press the unit against walls or plastic. -
Near power & drainage
Shorter runs mean fewer problems. Place the dehumidifier where the hose can slope downward to a drain or reach a condensate pump easily. -
Avoid freeze & flood points
Keep away from exterior vents (cold drafts) and spots that collect standing water.
Before You Start: Prep the Space
- Inspect & fix obvious issues: Standing water, leaks, or wet soil should be addressed (sump pump, gutters, grading).
- Encapsulate if you can: Installing a vapor barrier on the floor and sealing overlaps/wall upturns helps the dehumidifier work less and last longer.
- Measure the space: Note square footage and height; confirm your unit’s coverage and airflow.
- Plan the drain path: Decide between gravity drain or condensate pump (details below).
Step‑by‑Step: Crawl Space Dehumidifier Installation
Step 1 — Unbox and check parts
Remove packing, verify the filter is present, and inspect for damage. Read the quick‑start in the manual.
Step 2 — Set the base and level the unit
Place a riser pad or blocks in the chosen spot. Set the unit on top and check level front‑to‑back and side‑to‑side.
Step 3 — Plan and route the drain
Option A: Gravity drain
- Connect the hose to the drain port (hand‑tighten fittings; use Teflon tape if recommended).
- Run the hose to a floor drain, sump basin, or approved outlet, keeping a continuous downward slope.
- Avoid kinks, traps, and sharp rises. Secure with clamps or zip ties.
Option B: Condensate pump
- If the drain point is higher or far away, use a condensate pump.
- Connect the dehumidifier to the pump’s reservoir; then run the pump’s discharge line up and toward your drain point.
- Keep lines neat and supported; follow the pump’s max lift specification.
Tip: If you must exit outdoors, protect the line from freezing, use a proper sleeve through the wall, and seal around the penetration. Never discharge where water can run back toward the foundation.
Step 4 — Secure the hose and test for leaks
Gently tug the hose at the unit and at the drain point. Tighten any compression nuts or clamps. If your model has a pump, prime and test per manual.
Step 5 — Power safely
Plug the unit directly into a grounded outlet on an appropriate circuit. No extension cords. If the outlet is not within reach, have one installed by a pro.
Step 6 — Initial settings
Power on and set the target humidity to around 50% RH. If your model includes a remote controller or mobile app, place the controller where it senses representative air (not right on a vent or exterior wall).
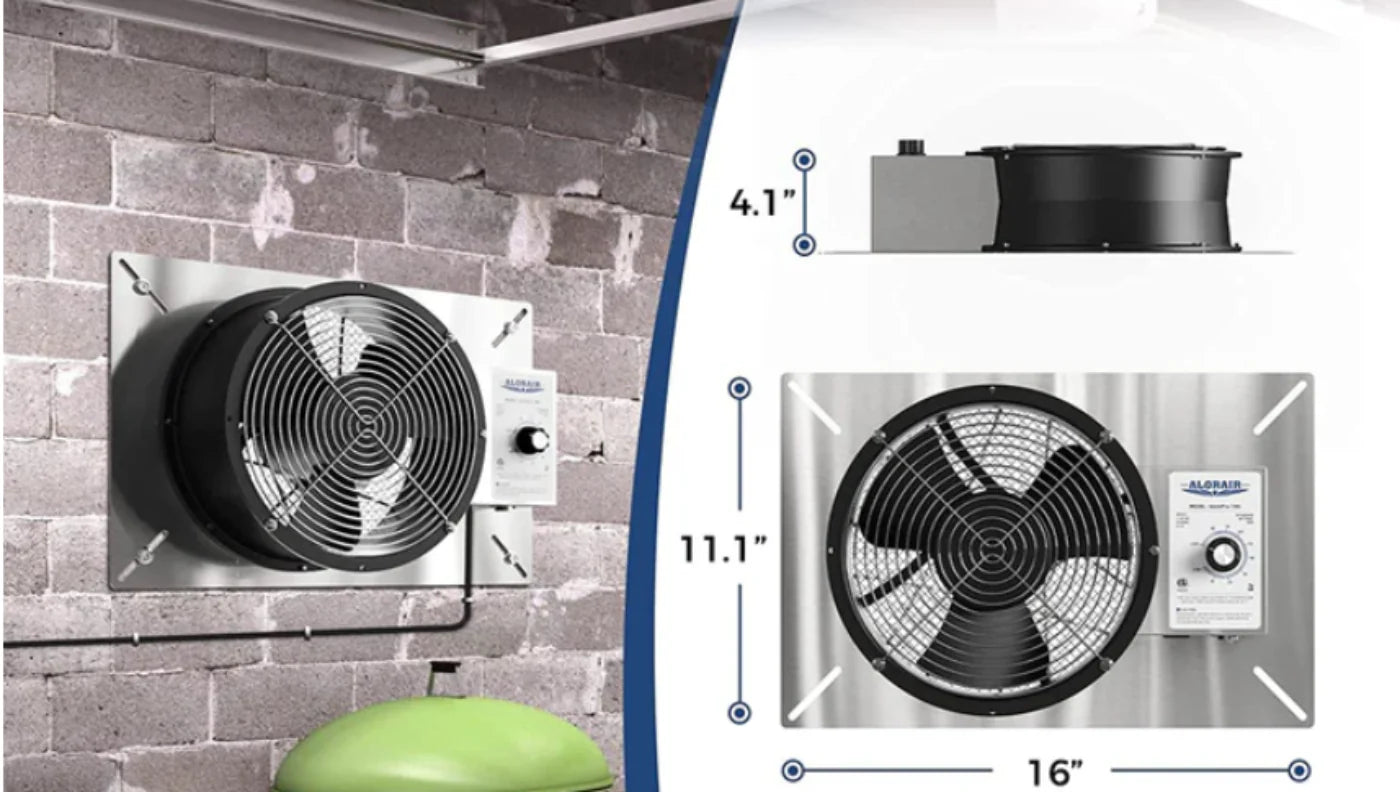
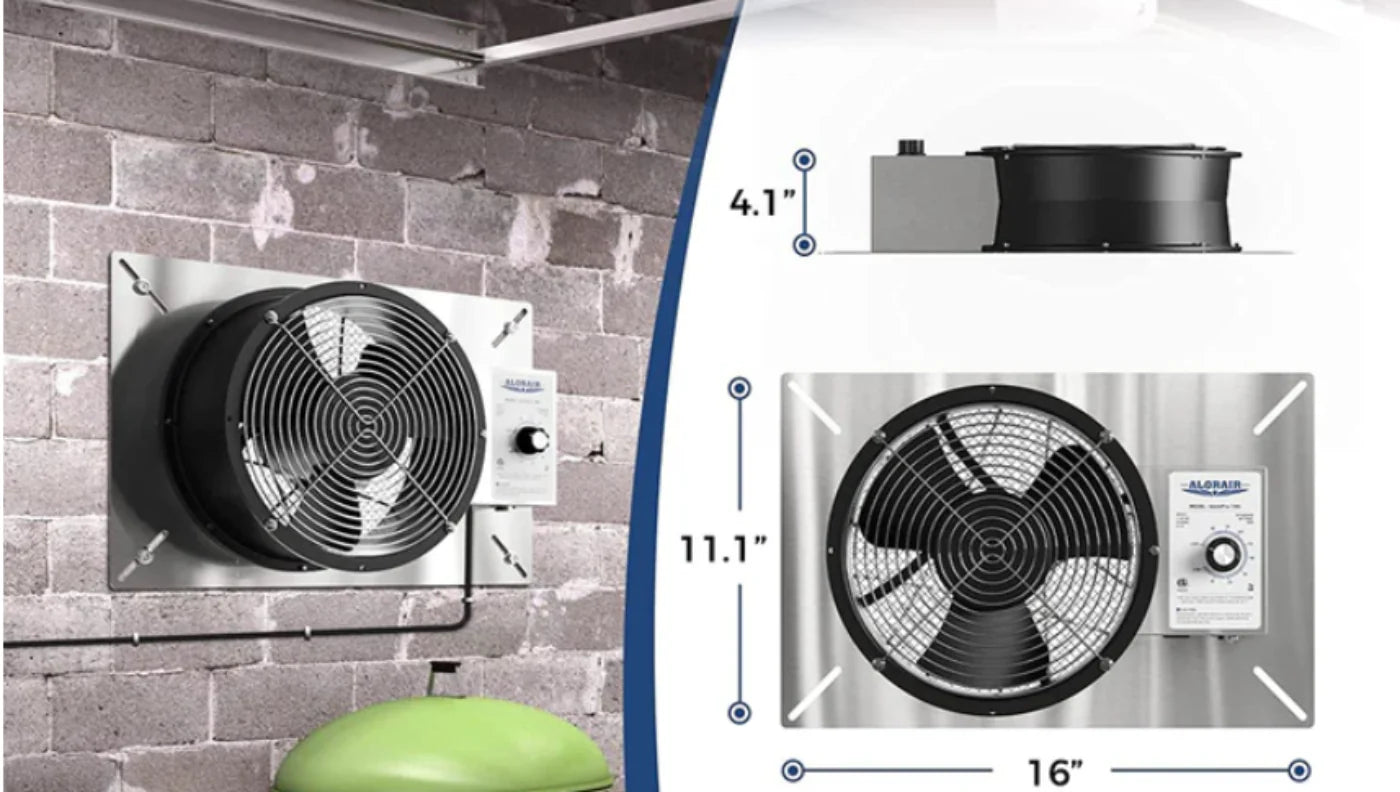
Step 7 — Optional: Ducting (if your model supports it)
Some crawl space dehumidifiers accept duct kits to move dry air or bring return air from a distant section.
- Keep ducts short and smooth.
- Avoid tight bends and excessive length that reduce airflow.
- Seal connections and support the duct to prevent sagging.
Step 8 — Final checks
- Listen for normal operation—no loud rattles or rubbing.
- Confirm warm, dry air blows from the outlet after a few minutes.
- Check the drain outlet again for any drips.
- Place a small tray under fittings for the first day if you want an “early warning” for leaks.
Crawl Space Encapsulation (Recommended but Optional)
Encapsulation makes a big difference. Basic steps:
- Clear debris and smooth the floor.
- Lay vapor barrier across the entire floor; overlap seams by 6+ inches and tape securely.
- Turn the liner up walls (about 6–12 inches) and fasten per product instructions.
- Seal penetrations (piers, pipes, wires) with tape or sealant to keep ground moisture out.
With encapsulation, the dehumidifier cycles less and holds your set point more easily.
Drainage Options Explained
- Gravity to drain/sump: Simple and quiet. Requires a steady downward slope from unit to drain.
- Condensate pump: Best when the drain is higher or distant. Choose one with adequate lift; route the discharge line so water can’t flow back.
- To the exterior: Only where allowed. Protect from freezing, keep away from the foundation, and seal the wall penetration.
Do not send condensate into a sewer line unless a plumber confirms it’s code‑compliant for your area.
Common Mistakes to Avoid
- Using an extension cord (overheating/fire risk)
- No slope in the drain line (water backs up; unit shuts off)
- Jamming the unit into a corner (starved airflow, poor performance)
- Setting humidity too low (wasted energy; icing risk in cold conditions)
- Skipping filter care (reduced airflow and capacity)
- Ignoring winter (protect drain lines from freezing; insulate if needed)
After Installation: Simple Care & Settings
- Target humidity: Start at 50%. Adjust to 45–55% based on your climate and moisture load.
- Filter care: Vacuum or replace filters every 1–3 months (per manual and conditions).
- Drain check: Glance at the hose and discharge point monthly; clear algae or sediment.
- Seasonal watch: In very cold climates, protect the unit and lines from freezing temperatures.
When to Call a Pro
- You need a new outlet or a dedicated circuit
- The drain path requires long lifts or complex routing
- You plan to duct multiple areas or tie into the HVAC
- You see persistent standing water, structural issues, or suspected mold
Frequently Asked Questions
Can I install my own crawl space dehumidifier?
Yes—many homeowners do. If you can place the unit, run a drain line with a steady slope (or use a condensate pump), and plug into a grounded outlet, you can install a dehumidifier in a crawl space yourself. Hire a pro for any electrical work, complicated ducting, or if you’re unsure about drainage.
Where should you place a dehumidifier in a crawl space?
Choose a central, open area with good airflow, on a level, raised base. Keep clearance around air inlets/outlets (aim for about a foot or more). Place it where the drain hose can reach a sump or drain with a continuous downhill slope and where power is available without an extension cord.
How much does it cost to put a dehumidifier in a crawl space?
Expect a wide range. The dehumidifier itself typically runs several hundred to a couple thousand dollars, depending on capacity and features. DIY installs may only add the cost of hose, clamps, a riser, or a pump kit. If you hire a pro, factor in labor for outlet installation, pump setup, or ducting, which can add a few hundred dollars more. Actual costs vary by home and region.
Where does a crawl space dehumidifier drain?
Most units drain by gravity to a floor drain, sump basin, or approved outlet. If the drain point is higher or far away, use a condensate pump to lift the water to the discharge location. Keep the line sloped (for gravity), secured, and protected from freezing.
Conclusion
Crawl space dehumidifier installation doesn’t have to be complicated. With smart placement, a clean drain path, safe power, and a simple humidity setting, you can protect your home from moisture and musty air. Maintain the filter, glance at the drain line now and then, and your system will quietly keep the crawl space dry all year.


