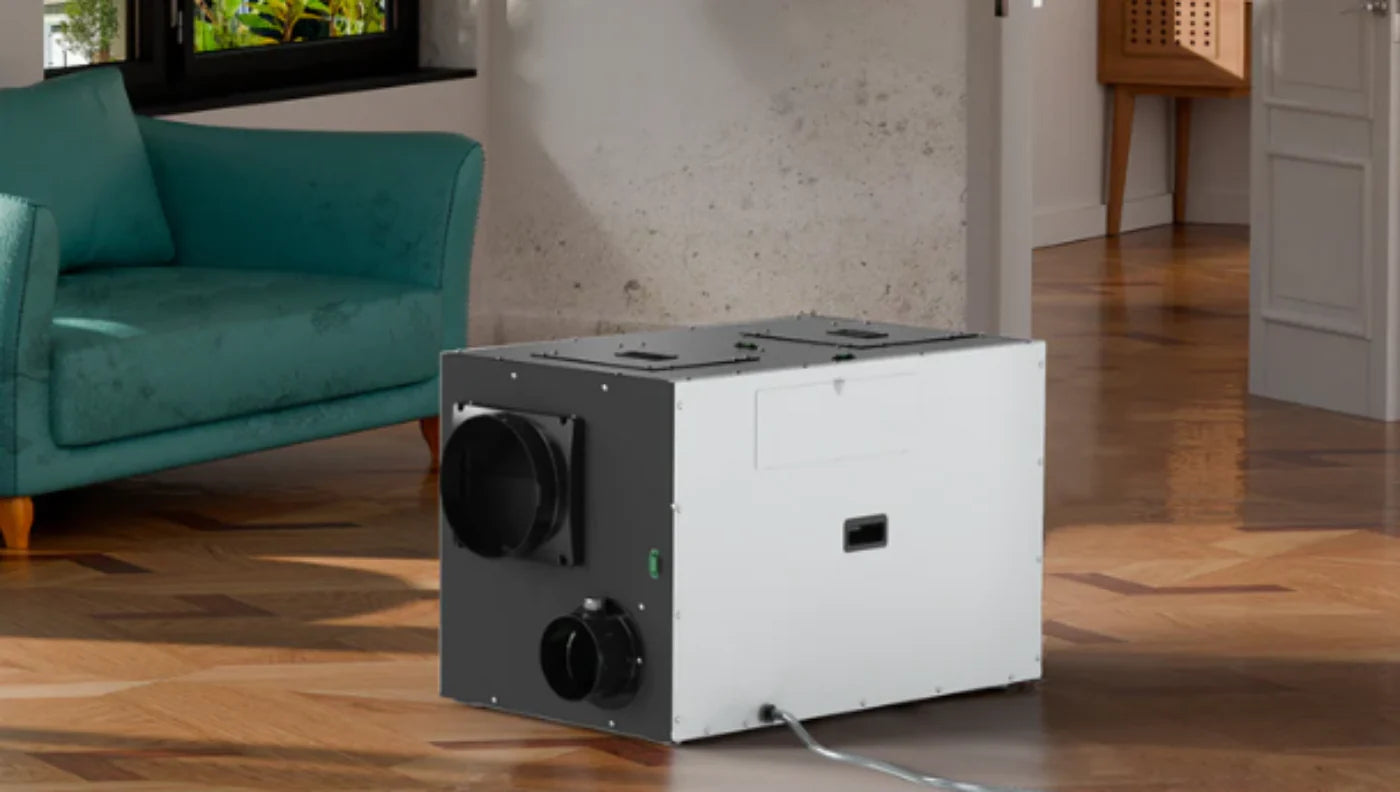
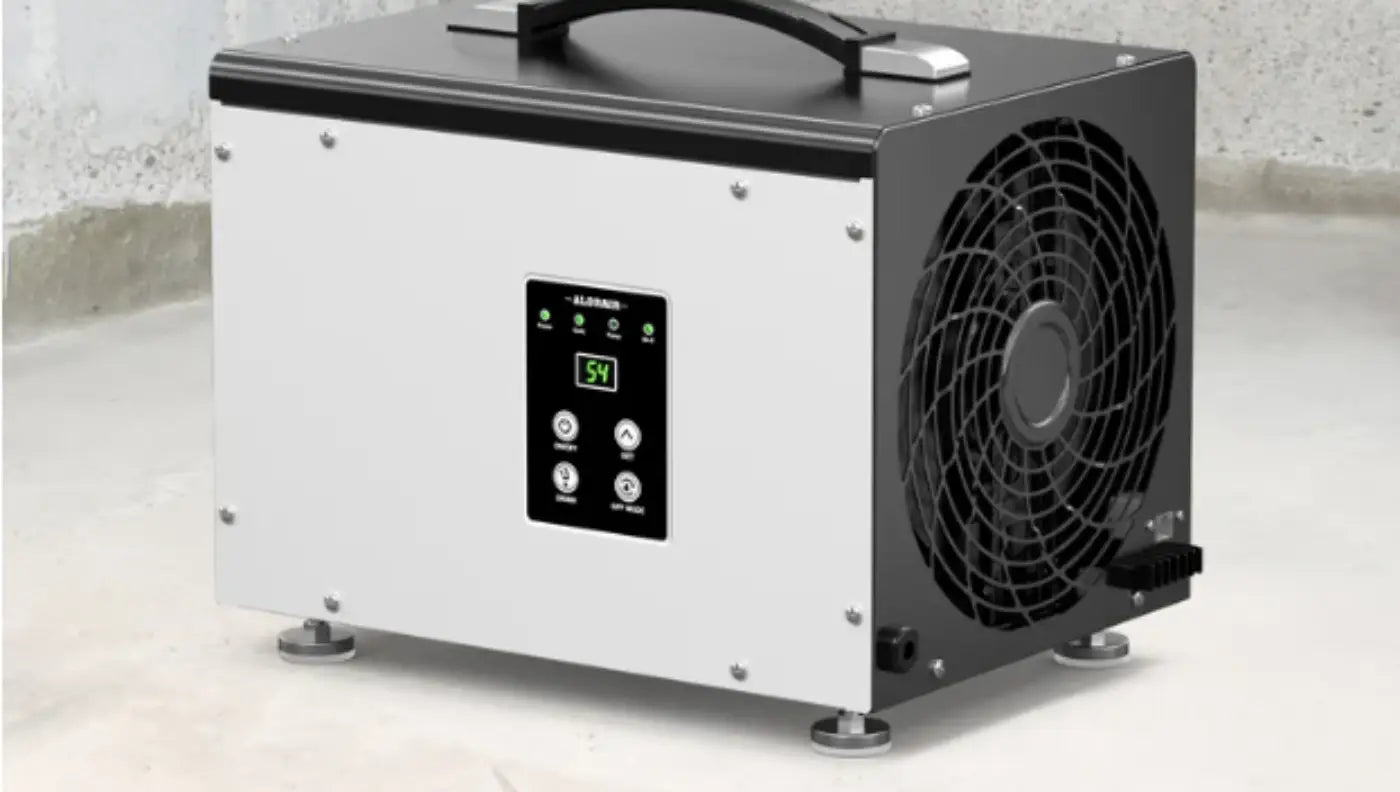
A whole-house dehumidifier keeps indoor humidity steady (aim ~45–55% RH), improves comfort, and protects wood, finishes, and indoor air quality. This simple guide shows you where it goes, how to duct it, how to drain it, and how to start it up—with four clear diagrams you can follow.
Quick take: The most reliable layout is dedicated return → dehumidifier → supply plenum (downstream of the coil) with enough mixing length before the first branch. This design avoids re-evaporation at the coil and lets the dehumidifier run independently of the HVAC blower.
What you’ll need
Materials
- 8–10" insulated flex duct (or hard pipe) + starter collars/Y
- Backdraft damper (on the dehumidifier supply/outlet)
- Balancing damper (optional, helps tune flow)
- UL-181 mastic/tape, sheet-metal screws, strapping/hangers
- 3/4" NPT condensate adapter → 1/2" drain tubing
- P-trap for the drain line + condensate pump (if the drain is higher/farther)
- Overflow safety: pan + float switch (attic installs)
Tools
- Drill/snips for round cutouts, nut drivers/screwdrivers
- Level, tape measure, utility knife
- Wire stripper (for control wiring if needed)
The four common ducting layouts (with diagrams)
Below, ASCII diagrams show air direction →. “AHU” = air handler/furnace. “Coil” = A/C coil.
A) Preferred: Dedicated Return → Dehumidifier → Supply Plenum (downstream of coil)

- Avoids pushing dry air across the evaporator coil (no re-evaporation).
- Lets the dehumidifier work without the HVAC blower running.
- Keeps system static pressure reasonable with proper sizing/mixing length.
Mixing distance: Allow adequate space before the first branch so dehumidified air blends smoothly—manufacturer diagrams commonly show ~24" minimum (and often a few feet) before the first takeoff, plus keep separation from the coil. Follow your model’s guide.
B) Alternate: Dedicated Return → Dehumidifier → HVAC Return

When space makes A) impossible, this works if you also run the HVAC blower whenever the dehumidifier is on (so dry air is carried into the home through supply ducts). Many manuals note this dependency when supplying to the HVAC return path.
C) Stand-alone (no HVAC tie-in): Dedicated Return → Dehumidifier → Dedicated Supply Grille(s)

Great when you can’t (or don’t want to) connect to the HVAC. Several pro guides show this option; be sure to trap and slope the drain and size duct(s) for throw/mixing.
D) Optional fresh-air integration (ventilating dehumidifier)
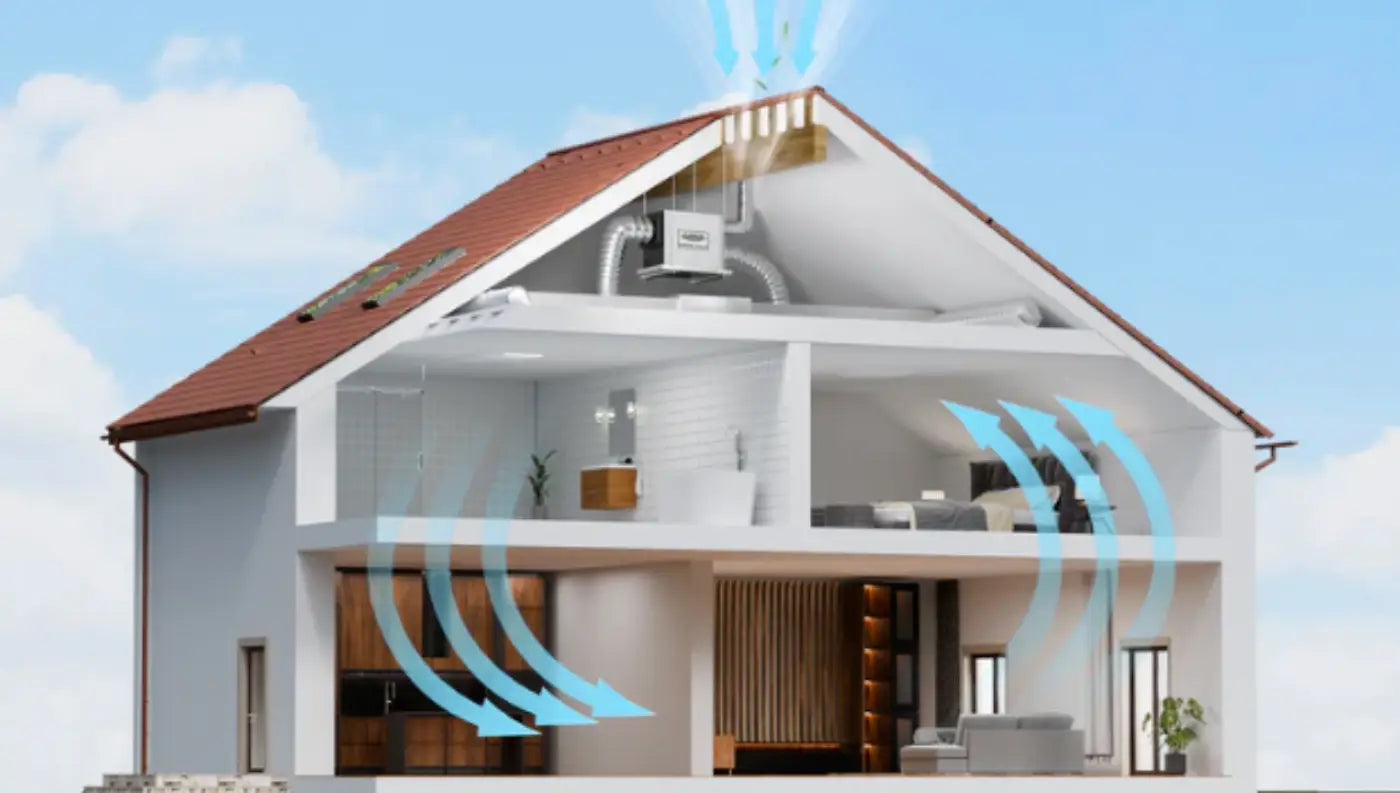
Some whole-house dehumidifiers can bring in filtered outdoor air per ventilation targets; the unit then dehumidifies and delivers it to the home supply. This is often set up with controls to lock-out OA in extreme weather.
Location, power & drain basics
- Location: Near the air handler when possible (attic, basement, or mechanical room), with service clearance and a way to run return/supply ducts cleanly.
- Power: Dedicated, grounded outlet per nameplate (don’t use extension cords).
- Drain: Run the condensate line continuously downhill to an approved drain or to a condensate pump. Include a water trap to prevent air movement through the drain (many manuals require one). Protect attic installs with a drain pan + float switch.
Step-by-step installation
Safety & codes: Cutting into ducts, adding wiring, and routing drains are licensed-trade tasks in many areas. If you’re not experienced with HVAC, hire a pro—especially for electrical and duct static checks.
1) Plan the layout
- Choose A) preferred if you can (dedicated return to supply plenum, downstream of coil).
- If the supply plenum tie-in is impossible, use B) and set controls to run the HVAC fan with the dehumidifier.
- If you cannot tie into HVAC at all, pick C) with dedicated grilles.
For A) and B), note manufacturer mixing length guidance—e.g., keep a clear stretch before the first branch so dehumidified air blends. Common callouts show ~24" minimum and several feet as a typical aim.
2) Set the unit
- Place on a level pad or hang with isolation straps.
- Keep filter access clear.
- In attics, set inside a drain pan with a float switch.
3) Cut the duct takeoffs & install collars
- For A): one takeoff on a central return (or a new dedicated return grille), and one on the supply plenum (downstream of coil).
- For B): one on the new dedicated return, and one on the HVAC return.
- For C): one on the dedicated return, one or more supply grilles into the living space.
- Use 8–10" insulated duct (per model; check manual). Seal with UL-181 mastic/tape.
4) Dampers that make it work better
- Add a backdraft damper on the dehumidifier outlet to prevent HVAC blower backflow when the dehumidifier is off.
- Consider a balancing damper on the dehumidifier return line to fine-tune airflow if static runs high.
5) Run the condensate drain
-
Install the P-trap, slope the line downhill, and route to an approved drain/sump or to a condensate pump. Test with water.
6) Wiring & control
- Power the unit per its nameplate.
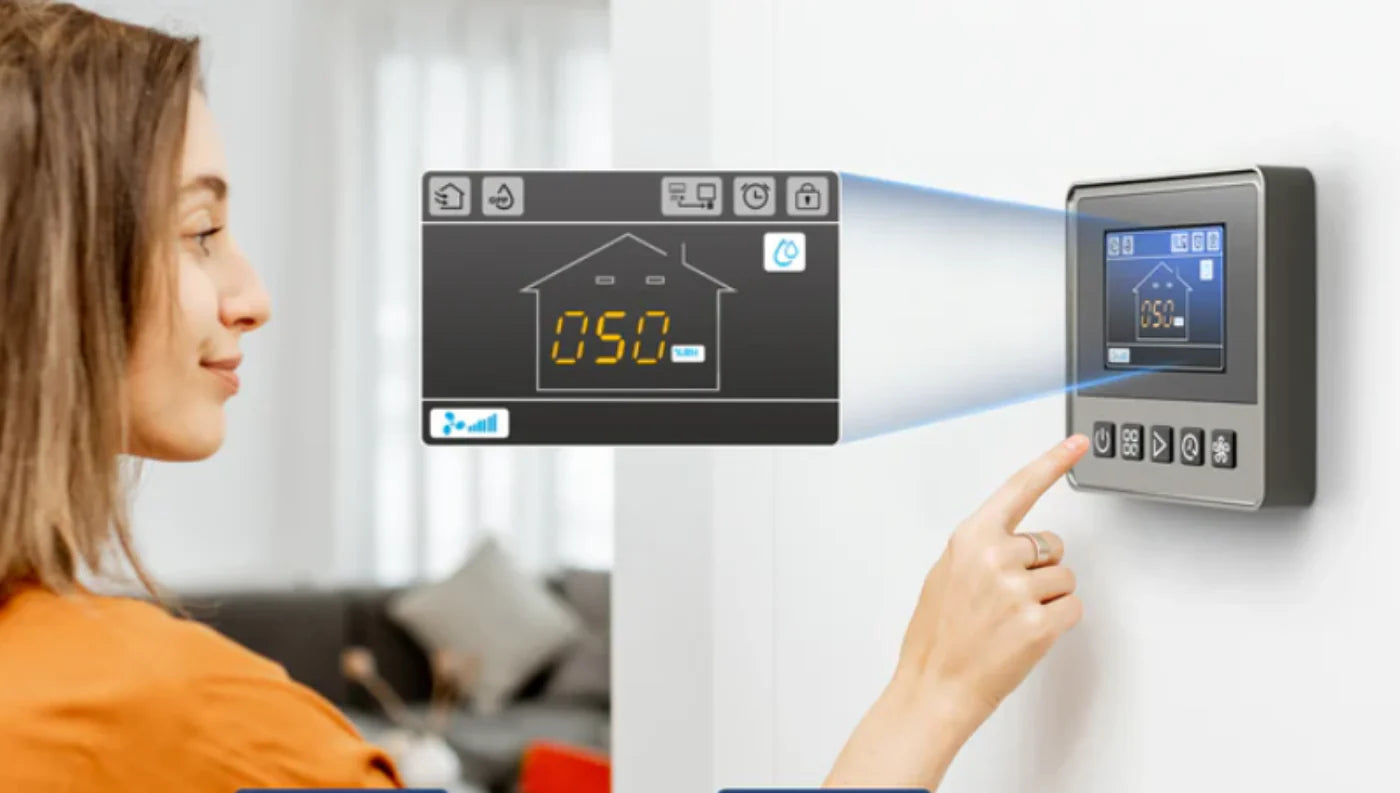
- Connect the dehumidistat/control (wall control or built-in).
- If using layout B) (dehumidifier outlet into HVAC return), wire the HVAC fan to run whenever the dehumidifier is running (many manufacturer guides require this).
7) Commissioning & checks
- Static pressure: If the AC and dehumidifier run together, verify total external static stays within spec; many pros prefer A) to avoid excessive system static.
- Mixing distance: Confirm you’ve got a clear run before the first branch from the supply plenum tie-in, per your manual (often ~24" min).
- Drain test: Pour water into the pan/inlet to verify flow and the trap doesn’t gulp air.
- Set point: Start at 50% RH; fine-tune to 45–55% after a week.
Simple ducting “rules of thumb”
- Keep runs short and smooth; avoid tight bends and kinks.
- Use insulated duct to reduce sweating/noise.
- Don’t aim the outlet directly at the coil; tie into the supply plenum downstream and allow blending before branches.
- When using return-to-return style, remember to run the HVAC fan with the dehumidifier.
Where should it be installed?
- Basement/mechanical room is common (easy drain, easy service).
- Attic works if you provide a pan, float switch, and insulated ducting.
- Closets with returns can work when space allows service clearances.
Pro tip: The closer to the air handler you are, the easier the tie-ins and service usually are—especially for the preferred dedicated return → supply layout.
What about bringing in fresh air?
If your model supports ventilation, you can add a small outside-air duct to the dehumidifier. The unit filters and dries the air before sending it into the home—some contractors set temperature “lockouts” to avoid extreme outdoor conditions.
Cost snapshot (installed)
National guides place installed whole-house dehumidifiers at roughly $1,300–$2,800 for most homes (unit + pro labor). Complexity (tight attics, long duct runs, electrical, pump) can shift totals up or down.
Model sizing (quick match)
- ~2,300 sq ft: WHD 100
- ~3,000 sq ft: WHD 120
- ~3,500 sq ft: WHD 150
- ~4,500 sq ft: WHD 200
Frequently Asked Questions
Can I install my own whole-house dehumidifier?
Parts of the job are DIY-friendly (pads, drain slope, basic ducting). But tying into supply/return ducts, wiring the blower interlock, and verifying static pressure are pro tasks in many areas. If you’re not experienced with HVAC work, hire a licensed contractor.
Where should a whole-house dehumidifier be installed?
Near the air handler (basement/mechanical room or attic) with room to service filters and coils. Keep the drain simple (gravity if possible) and insulate ducts in unconditioned spaces.
How much does it cost to install a whole-house dehumidifier?
Typical installs land around $1,300–$2,800 including the unit and labor, depending on capacity and duct/electrical complexity.
Is it worth getting a whole-house dehumidifier?
If you battle sticky summers, musty smells, or can’t keep RH below ~60%, yes. It runs when A/C isn’t running, stabilizes comfort, and protects your home. Many pros prefer the dedicated return → supply ducting because it’s efficient and avoids re-evaporation at the coil.
Do I need a P-trap on the drain?
Yes—most installation guides require a trap on the condensate line to prevent air movement through the drain and ensure steady flow.
What static-pressure issues should I watch?
If the dehumidifier and A/C operate together, total external static can creep up. The dedicated return → supply plenum method helps minimize impact; pros will measure and adjust as needed.
Conclusion
The cleanest, most reliable setup is Dedicated Return → Dehumidifier → Supply Plenum (downstream of coil) with enough mixing length. If space forces another layout, wire controls appropriately (e.g., run the HVAC fan when supplying into return). Don’t skip the drain trap, slope, and pan protection; set ~50% RH and fine-tune after a week.


