Are you suffering from a leaky basement wall? Ah, we can feel your pain. If the beauty of rain gets ruined by a leaky basement wall, it sure is a real headache. Basement walls are the foundation of your home, providing structural support and a barrier against the elements. However, when these walls begin to leak, they can lead to serious problems such as mold growth, structural damage, and poor air quality.
Understanding how do you fix a leaky basement wall is crucial for maintaining a safe and healthy living environment. This blog will guide you through the common causes of basement leaks, how to identify them, DIY basement waterproofing, and effective solutions to fix the problem. Whether you're dealing with minor cracks or more significant issues, addressing leaks promptly can prevent costly damage down the line.
Identify the Source of the Leak
Common Causes of Basement Wall Leaks
The first step in fixing a leaky basement wall is to identify the source of the leak. Several factors can cause water to seep through your basement walls:
Cracks in the Foundation: Over time, the natural settling of your home can lead to small cracks in the foundation. These cracks may start small but can allow water to penetrate your basement, leading to significant moisture issues. So, start from basement wall crack repair and seal basement cracks.
Poor Drainage: If your home’s exterior drainage system is inadequate, water can pool around the foundation. This excess water increases hydrostatic pressure, which pushes water through any weaknesses in the basement walls.
Hydrostatic Pressure: Even without visible cracks, the sheer pressure from groundwater can force moisture through basement walls. This is especially common in areas with high water tables or heavy rainfall.
Signs of a Leaky Basement Wall
Identifying the signs of a leaky basement wall early can help you address the issue before it becomes a significant problem:
Water Stains: Discoloration or damp spots on your basement walls are a clear indication that water is seeping through.
Damp Spots: Patches of dampness on walls or floors suggest that moisture is finding its way into your basement.
Musty Odors: A persistent musty smell is often a sign of mold or mildew, both of which thrive in damp environments.
Mold Growth: Mold and mildew are common in areas with high moisture levels. If you notice mold growing on your basement walls, it’s a clear sign that water is getting in.
Inspecting the Basement
To effectively fix a leaky basement wall, a thorough inspection is necessary. Here’s how you can inspect your basement for leaks:
Examine the Walls: Look closely at the basement walls for any visible cracks or damp spots. Pay special attention to areas where the walls meet the floor, as these are common entry points for water.
Check Outside the Home: Sometimes the cause of a leak isn’t inside the basement but outside the home. Check for poor grading around the foundation, clogged gutters, or downspouts that are discharging too close to the house. These issues can contribute to water pooling around your foundation and eventually seeping into your basement.
Understanding these causes and signs of leaks is essential as you move forward with waterproofing basement walls. By correctly identifying the source, you can apply the most effective solutions to seal basement cracks and prevent future moisture issues.
As Bob Vila, Home Improvement Expert said, "Ignoring a leaky basement wall can lead to serious structural damage over time. It's crucial to address the problem as soon as it's detected.”
Steps to Fix a Leaky Basement Wall
The following steps are the comprehensive answers to how to fix a leaky basement wall. Fixing a leaky basement wall involves several critical steps, each aimed at ensuring a long-lasting solution to your moisture problems. Here’s everything about DIY basement waterproofing:
Step 1: Clean the Area
Before beginning any repairs, it’s essential to start with a clean surface. This ensures that any materials you apply will adhere properly and function effectively.
Remove Dirt and Debris: Use a stiff brush or vacuum to clear away any dirt, dust, or loose debris from the wall surface. Pay special attention to areas with visible stains or dampness.
Eliminate Mold and Mildew: If you spot any mold or mildew, clean it thoroughly using a mold-killing solution. Mold can compromise the effectiveness of your repairs and continue to spread if not addressed.
A mixture of Water and Bleach: Use a mixture of water and bleach (1 part bleach to 10 parts water) to kill mold spores and prevent future growth. Allow the area to dry completely before moving on to the next step.
Step 2: Seal Cracks and Gaps
Once the surface is clean, it’s time to address any cracks or gaps in the basement wall that could be letting water in.
Epoxy or Polyurethane Injections: These materials are excellent for sealing cracks. Use a caulking gun to inject the epoxy or polyurethane directly into the crack. These substances expand slightly, filling the crack and creating a waterproof seal.
Apply Waterproof Sealant: After sealing the cracks, apply a waterproof sealant to the entire wall surface. This adds an extra layer of protection and helps prevent future leaks.
Pro Tip: When using epoxy or polyurethane, start from the bottom of the crack and work your way up. This ensures the material fills the entire crack without air bubbles.
Step 3: Apply Waterproofing Membranes or Coatings
For added protection against moisture, consider applying waterproof membranes or coatings to the basement walls.
Waterproof Coatings: These are typically liquid products that you apply with a brush or roller. They create a waterproof barrier on the surface of the wall, preventing moisture from seeping through.
Waterproof Membranes: These are sheet materials that you adhere to the wall. They are particularly effective for walls with large or multiple cracks, providing a robust barrier against water intrusion.
Pro Tip: Apply two coats of waterproof coating for the best results, allowing the first coat to dry completely before applying the second. This ensures maximum coverage and durability.
Step 4: Improve Exterior Drainage
Proper exterior drainage is crucial in preventing water from accumulating around your foundation, which can lead to basement leaks.
Install a French Drain: A French drain is a trench filled with gravel and a perforated pipe that redirects water away from your foundation. It’s an effective way to manage water flow and reduce pressure on basement walls.
Grade the Soil: Ensure the soil around your home slopes away from the foundation. This helps direct rainwater away from the walls and reduces the risk of leaks.
Maintain Gutters and Downspouts: Regularly clean gutters and ensure downspouts direct water at least 5-10 feet away from the foundation. This prevents water from pooling near the basement walls.
Pro Tip: Add extensions to your downspouts if water is still pooling near your foundation. This simple dehumidifier for basement
tra layer of protection against moisture.
Vapor Barrier Installation: A vapor barrier is typically made from thick polyethylene sheeting. Apply it to the interior walls, securing it with adhesive or tape. This prevents moisture from the ground from penetrating your basement walls.
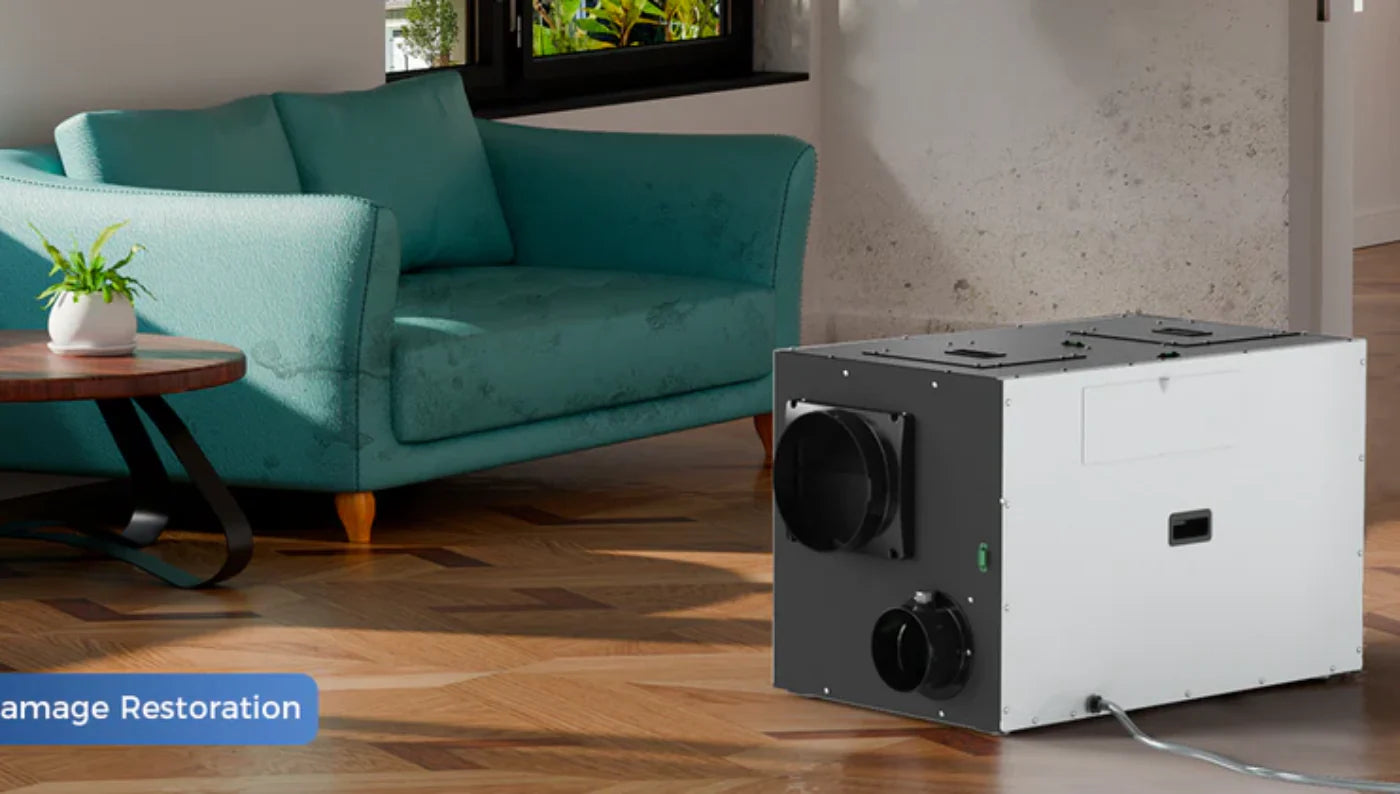
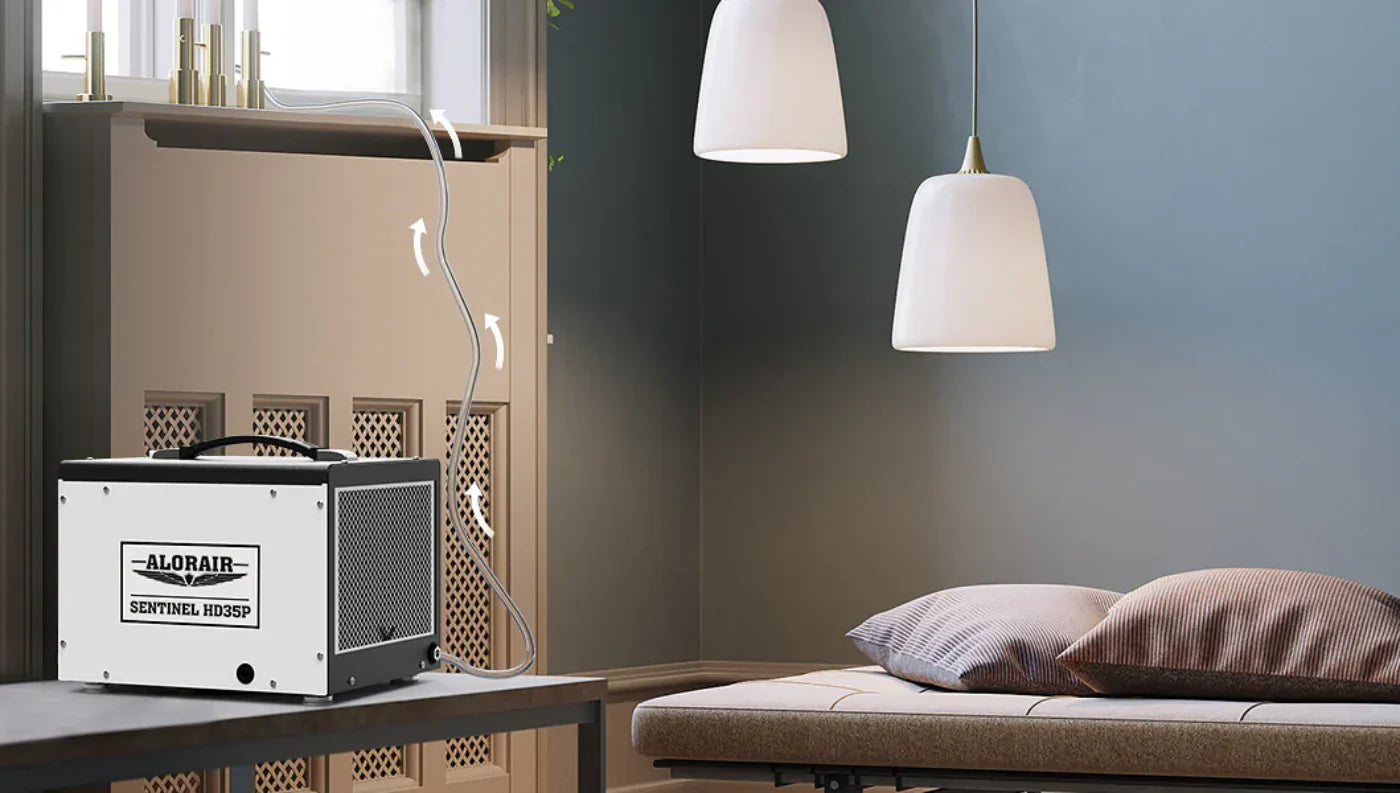
Complement with a Dehumidifier: To enhance the effectiveness of the vapor barrier, use a crawl space dehumidifier. A dehumidifier for basement will help maintain low humidity levels, preventing mold growth and protecting your basement from moisture damage.
Check Gaps: Ensure the vapor barrier is installed without any gaps or tears. Even small gaps can allow moisture to seep through, compromising the effectiveness of the barrier.
Step 6: Use a Crawl Space Dehumidifier
After completing the repairs, maintaining a dry basement is crucial to prevent future problems.
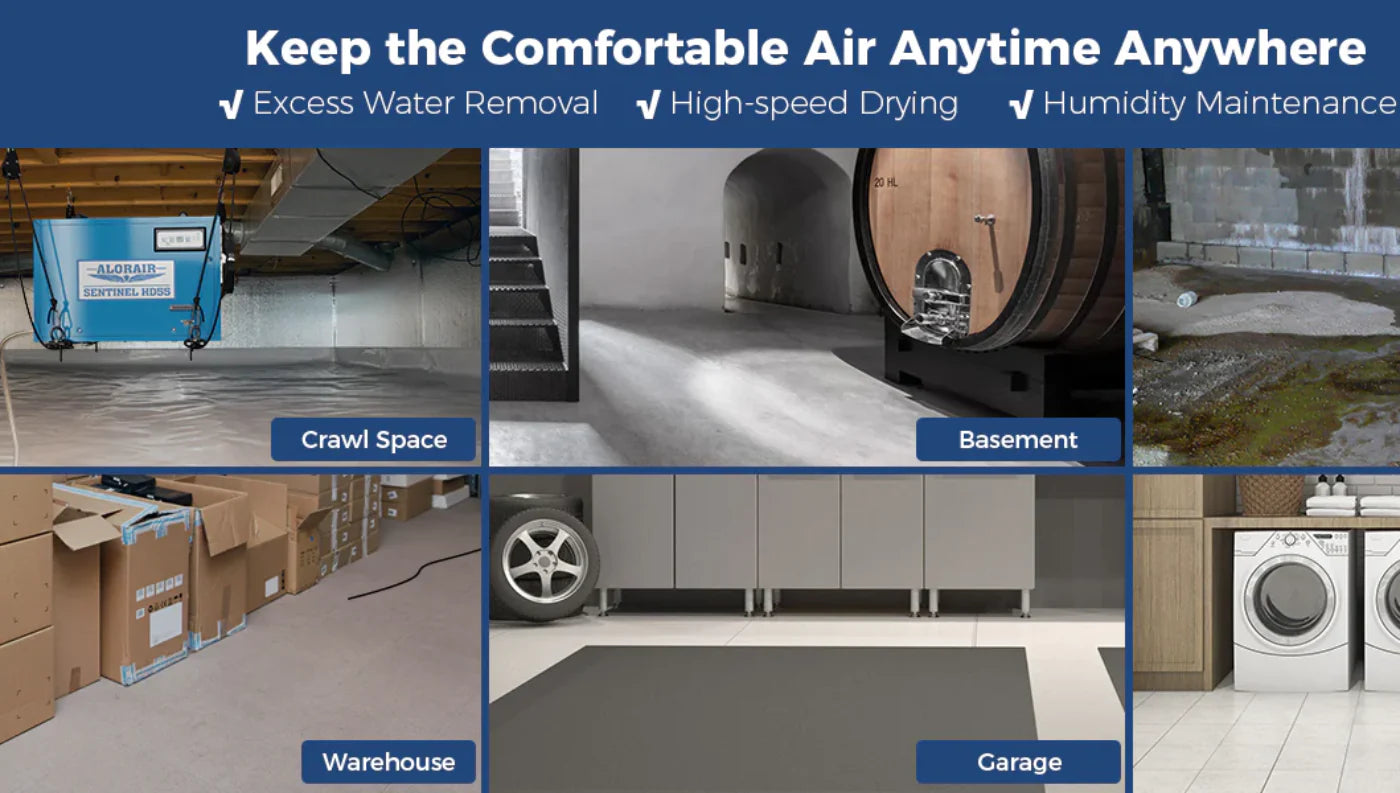
Humidity Control: A dehumidifier for basement is essential for controlling the humidity levels in your basement. A crawl space dehumidifier keeps the air dry, you reduce the risk of mold growth, musty odors, and further structural damage.
Preventing Mold Growth: Mold thrives in damp environments. By maintaining a relative humidity of 30-50%, a dehumidifier helps ensure your basement remains mold-free.
Pro Tip: Choose a dehumidifier for the basement with a built-in hygrometer to monitor humidity levels accurately. This allows you to adjust settings as needed to maintain optimal basement moisture control.
Preventative Measures for Long-Term Protection
Fixing a leaky basement wall is only the first step; implementing preventative measures ensures your basement remains dry and secure for years to come.
Regular Maintenance
Regular maintenance is key to preventing future leaks and maintaining the integrity of your basement walls.
Inspect for Cracks: Regularly check your basement walls for any new cracks or signs of dampness to prevent basement moisture control. Seal basement cracks because basement wall crack repair can show notable improvement. Addressing these issues early can prevent more significant problems down the line.
Maintain Gutters and Downspouts: Ensure that your gutters are clean and your downspouts are directing water away from your foundation. Regular maintenance of these systems is crucial in preventing water from pooling near your home.
Reapply Waterproof Coatings: Periodically reapply waterproof coatings to your basement walls to ensure they continue to protect against moisture.
Pro Tip: Set reminders to inspect your basement and maintain your home’s exterior drainage systems at least twice a year—once in the spring and once in the fall.
Controlling Indoor Humidity
Maintaining optimal indoor humidity is essential in preventing moisture-related issues in your basement.
Use a Crawl Space Dehumidifier: A dehumidifier is a vital tool for basement moisture control. It helps maintain a dry environment, preventing mold growth and musty odors.
Monitor Humidity Levels: According to studies, the recommended humidity range for homes is between 40 and 60% for comfort and health. Regularly monitor the humidity levels in your basement. Aim to keep the humidity between 30-50% to minimize the risk of mold and mildew.
Ventilation Systems: Ensure your basement has proper ventilation. If necessary, use fans or install a basement ventilation system to improve airflow and reduce moisture buildup.
Pro Tip: During the summer months, when humidity levels are higher, run your dehumidifier more frequently to keep your basement dry.
"Proper humidity control is one of the most effective ways to prevent mold growth in your home”, says Allison Bailes, Building Science Expert and Founder of Energy Vanguard
Waterproofing Best Practices
Adhering to best practices for waterproofing ensures your basement remains protected from leaks and moisture.
Reapply Waterproof Coatings: Waterproofing basement walls with coatings can wear down over time. Reapply them periodically to ensure they continue to protect your basement walls.
Inspect and Maintain Vapor Barriers: Check your vapor barriers regularly for any damage or wear. Repair or replace them as needed to maintain an effective moisture barrier.
Professional Assessment: Consider having a professional assess your waterproofing efforts every few years to ensure everything is functioning as it should.
Pro Tip: Keep a maintenance log of all inspections, repairs, and maintenance tasks. This helps you track the condition of your basement and address any issues promptly.
When to Call a Professional
While many basement leaks can be addressed with DIY methods, some situations require professional intervention. Knowing when to call in an expert can save you time, money, and further damage to your home.
Recognizing Serious Issues
In some cases, basement leaks require professional intervention, especially when dealing with extensive water damage, multiple or widening cracks, or persistent leaks despite DIY efforts. If you notice signs of foundation shifting, such as uneven floors or gaps around doors and windows, it’s crucial to consult a professional. These issues often indicate more significant structural problems that need specialized attention to prevent further damage to your home.
Choosing a Waterproofing Specialist
When selecting a waterproofing specialist, ensure they are licensed, experienced, and offer a warranty on their work. This guarantees that any issues arising post-repair will be addressed at no extra cost. Reading reviews, checking credentials, and getting multiple quotes are essential steps to finding a reliable contractor. This careful selection process ensures that you hire a professional capable of effectively addressing serious basement issues, providing long-term solutions and peace of mind.
Conclusion
Fixing a leaky basement wall is crucial for maintaining the structural integrity of your home and ensuring a safe, dry living environment. By addressing leaks promptly and using effective waterproofing techniques, you can prevent long-term damage and improve the overall health of your basement. Whether you’re tackling a minor leak with DIY methods or addressing a significant issue with professional help, it’s essential to maintain a proactive approach to basement moisture control such as regular inspections and using a crawl space dehumidifier. This is all about how you fix a leaky basement wall.
Ready to Tackle Basement Moisture Issues Properly?
Explore the range of high-quality dehumidifiers available at AlorAir Crawlspace. Our crawl space dehumidifiers are designed to manage high humidity levels, prevent mold growth, and maintain a dry, healthy environment in your basement. Visit our store today to find the perfect solution for your home.
Feel free to reach out with any questions or share your experiences in the comments below. We’re here to help you create a safe and comfortable living space.
FAQs
1. How do I know if my basement leak is serious?
Serious leaks often involve persistent water intrusion, multiple cracks, or visible structural damage. If you notice these signs, it's best to consult a professional.
2. What’s the best way to seal a crack in a basement wall?
Using epoxy or polyurethane injections is an effective method for sealing cracks. These materials expand within the crack, creating a waterproof seal.
3. Can a crawl space dehumidifier help after fixing a leaky basement wall?
Yes, a dehumidifier helps maintain low humidity levels, preventing mold growth and further moisture damage after repairs.
4. How often should I inspect my basement for leaks?
Regular inspections are recommended twice a year, especially after heavy rainfall or during seasonal changes.


