


Did you know excessive humidity in your home's crawlspace can lead to wood rot, mold growth, and even structural damage over time? Crawl spaces are prone to moisture buildup due to their enclosed nature and lack of airflow. This damp environment creates an ideal breeding ground for mildew, termites, and other pests that can compromise your home's structural integrity.
Proper crawlspace ventilation is key to preventing these issues. By circulating fresh outdoor air, crawlspace ventilation fans work to reduce moisture levels and expel musty odors, treated wood exhaust, and other indoor air pollutants. Crawl space vent fan installation is one of the most effective ways to protect your home's crawlspace from humidity-related problems.
The benefits of crawlspace ventilation fans go beyond just moisture control. These fans also help minimize radon gas buildup, deter the entry of insects and rodents, and improve overall air quality in your living space above. With simple operation and low energy consumption, they provide an affordable solution for maintaining a healthy home environment.
In this guide, we'll walk through the entire process of how to correctly select and install a crawlspace ventilation fan tailored to your home's needs. From choosing the right model to the final setup, you'll have all the knowledge to get maximum protection against dampness and its damaging effects.
Choosing the Right Crawlspace Ventilation Fan
Not all crawlspace ventilation fans are created equal. To get the best performance and moisture protection, you'll need to choose a model that matches your home's specifications. Some key factors to consider include:
Square Footage: Larger crawlspaces require more powerful fans to circulate sufficient airflow. As a general guideline, you'll need about 1 CFM (cubic feet per minute) of fan capacity for every 300-500 square feet of crawlspace area.
Climate: If you live in an area with frequent freeze conditions, look for fans with built-in thermostatic controls that prevent operation below 35-40°F. This frost protection prevents moisture from freezing inside and damaging the unit.
Existing Ventilation: Take note of how many vents are already installed and their sizes. This will determine whether you need multiple smaller fans or one larger centralized unit.
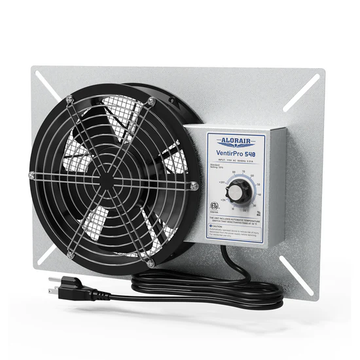
Some of the most popular crawlspace fan models on the market include the VentirPro 260 (260 CFM), VentirPro 540 (540 CFM), and VentirPro 720 (720 CFM). These fans offer adjustable dehumidistat controls to maintain optimal humidity levels between 10-80% relative humidity.
Preparing for Installation
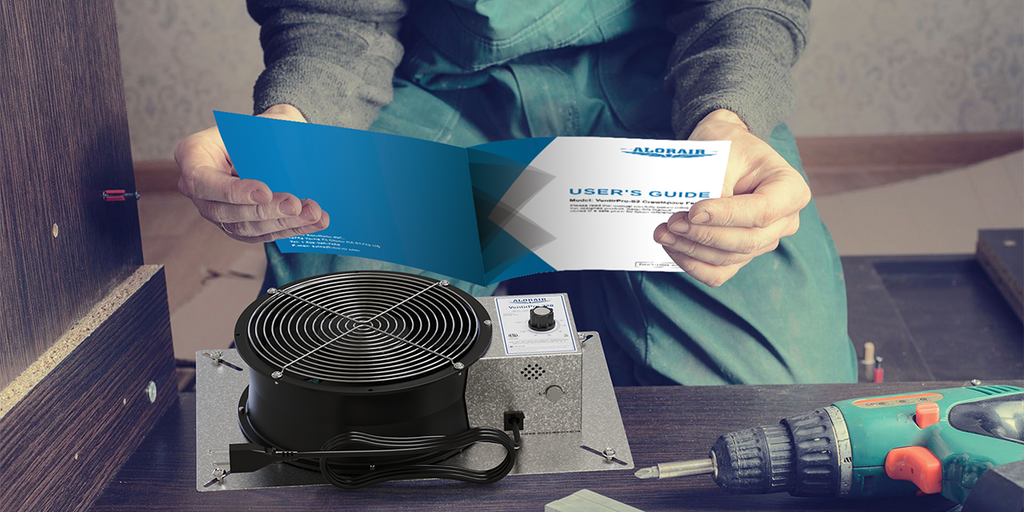
Before you begin the installation process, it's crucial to have all the required tools on hand and properly prepare the workspace. Here's a checklist of what you'll need:
1. 5/16" nut driver or flathead screwdriver
2. Drill with 5/16" masonry bit (if mounting on brick or foundation block)
3. Nearby grounded electrical outlet within 6 feet
Next, locate the ideal installation spot(s). Crawl space fans should be installed at least 3 feet away from any outside corners, behind existing crawlspace vent openings. Be sure to take precise measurements of the vent dimensions - both height and width. This will ensure you purchase a fan with the correctly sized mounting plate for the job.
Step-by-Step Installation Guide
With your crawlspace ventilation fan selected and area prepared, you're ready to begin the installation process. Follow these steps carefully:
1. Removing Existing Vents: First, remove any existing vent covers or grates from the installation location(s). This will provide an open space to mount your new crawlspace fan.
2. Mounting the Fan Housing: Place the fan housing directly over the vent opening, lining it up squarely. If mounting on brick or foundation blocks, mark the four corner positions and drill 5/16" pilot holes using a masonry bit. Insert wall anchors and secure the housing with screws.
For wood-framed installations, simply fasten the housing at the four corners directly to the joists or existing vent framing using screws, washers, and nuts.
3. Wiring and Electrical Connections: Following your local electrical codes, connect the fan's wiring to a nearby grounded outlet using the supplied power cord. Ensure all connections are secure.
Most crawl space fans operate on standard 115V power. Double-check that your outlet is properly rated and providing the correct voltage to the fan motor(s).
4. Installing Insect Mesh Screening: To prevent pests from entering, most fans include stainless steel insect mesh screening. Carefully install this over the fan intake side once the housing is mounted. This 0.14" mesh blocks even the smallest critters.
Take your time on this step-by-step installation process. Proper mounting and wiring will ensure the safe, reliable operation of your crawlspace ventilation system for years to come.
Customizing the Installation
For non-standard vent openings, you may need to modify the included mounting plate to achieve a proper fit. The fans feature adjustable plates that can be trimmed down to minimum dimensions:
1.VentirPro 260: 9 ⅓" x 7"
2.VentirPro 540: 12" x 9"
3.VentirPro 720: 13 ⅖" x 10 ⅕"
When trimming is required, carefully cut along the marked guidelines using a tool or heavy-duty shears. Take precautions against scratching the power cord. Having a snug plate-to-opening fit ensures optimal airflow.
Most quality crawlspace fans also allow you to customize the humidity and temperature control settings for your specific climate needs. The built-in dehumidistat can typically be adjusted between 10-80% relative humidity to maintain desired moisture levels.
The freeze protection thermostat is pre-set to shut the fan off when outdoor temperatures drop below 35°F. However, you may be able to adjust this shutoff threshold between 35-50°F if extremely cold conditions warrant it.
Operating and Maintaining Your Fan
Once installed, operating your crawlspace fan is a hands-off process. The humidity sensor will automatically activate the fan as needed to regulate moisture in your home. Understanding the basic controls is still helpful:
On/Off Switch: Allows you to override automated humidity operation manually.
Dehumidistat Dial: Adjusts the humidity setpoint that triggers fan activation.
Thermostat Dial: Adjusts the cold temperature cutoff setpoint, if applicable.
To keep your fan running in top condition, stick to this annual cleaning and inspection schedule:
Twice a year: Inspect housing for pest/debris buildup and wipe clean. Check mounting security.
Once a year: Remove housing and clean fan blades to prevent obstruction.
If the fan unexpectedly stops working, cut power and inspect thoroughly for issues like:
1. Obstructions or damage to fan blades
2. Loose electrical connections
3. Activated cold temperature shutoff during winter
With proper setup, most crawlspace ventilation fans operate maintenance-free for years.
Most handy homeowners can tackle this project themselves simply by following the instructions. However, if you’re unsure of your ability, professional installation is highly recommended. Proper electrical wiring, vent cutting, and setting calibration ensure safe and optimized performance. Incorrect installation could lead to safety hazards or inadequate moisture protection.
If you have a chronically damp or difficult-to-access crawlspace, don't risk subpar ventilation. The experts at AlorAircrawlspace offer premium crawlspace fans and dehumidifiers to control humidity problems.


