



Quick answer: To control humidity in a grow tent, monitor relative humidity at canopy level, remove humid air with an appropriately sized exhaust system, maintain circulation around and below the canopy, avoid overwatering, and use a dehumidifier when ventilation alone cannot hold the target RH. Pay particular attention after watering and when the lights turn off, because cooler nighttime air can cause relative humidity to rise quickly.
The correct humidity target depends on the plant and growth stage. Seedlings generally tolerate higher RH, while dense flowering plants usually require lower humidity and stronger airflow to reduce condensation and fungal disease risk.
Grow Tent Humidity by Growth Stage
| Growth Stage | Practical Starting Range | Main Consideration |
|---|---|---|
| Seedlings and clones | 65–75% RH | Young plants have limited root systems and generally need higher humidity. |
| Vegetative growth | 55–70% RH | Support transpiration while maintaining airflow through the canopy. |
| Early flowering | 50–60% RH | Begin lowering humidity as flowers become denser. |
| Late flowering | 40–50% RH |
Reduce condensation and fungal disease risk around dense flowers. |
Why Grow Tent Humidity Control Matters
Humidity affects plant transpiration, water movement, temperature response, and the amount of time leaves and flowers remain wet. Excessive RH combined with poor airflow can increase condensation and fungal disease risk, especially in a dense canopy. Humidity that is too low can increase water loss and stress young plants.
The goal is not to maintain one fixed RH throughout the entire grow. Humidity should be adjusted as plants develop, while temperature, airflow, irrigation, and canopy density are monitored together.
How to Lower Humidity in a Grow Tent
1. Measure Humidity at Canopy Level
Place a calibrated hygrometer near the plant canopy, away from direct airflow from the intake fan, exhaust outlet, humidifier, or dehumidifier. In larger tents, use a second sensor near the intake or in a known humidity hotspot.
Compare lights-on and lights-off readings instead of relying on one daytime measurement.
2. Increase Exhaust Ventilation
Increase the exhaust fan speed or runtime when the air outside the tent is drier than the air inside. Make sure the intake path can replace the air being exhausted without collapsing the tent walls or creating stagnant zones.
Ventilation is less effective when the surrounding room is already humid. In that situation, the lung room or surrounding space may also need dehumidification.
3. Improve Air Movement Through the Canopy
Use oscillating or circulation fans to move air above and below the canopy. The goal is to eliminate stagnant pockets without directing a strong stream at one plant continuously.
Air movement helps moisture evaporate and reach the exhaust or dehumidifier, but fans do not remove water vapor from the growing space.
4. Adjust Watering and Drainage
Water early in the lights-on period when possible, remove standing runoff, and make sure trays and growing media drain properly. Avoid leaving open reservoirs or wet materials inside the tent.
A dehumidifier can remove water vapor released through transpiration, but it cannot correct saturated growing media or poor root-zone drainage.
5. Control the Lights-Off Humidity Spike
Relative humidity often rises after the lights turn off because air temperature falls while plants and growing media continue releasing moisture. Keep exhaust and circulation systems operating during this transition, and monitor the highest nighttime reading rather than only the daytime average.
If the surrounding room remains humid overnight, dehumidifying the lung room may provide more stable control than placing a large unit inside a compact tent.
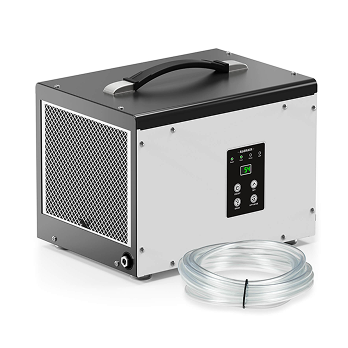
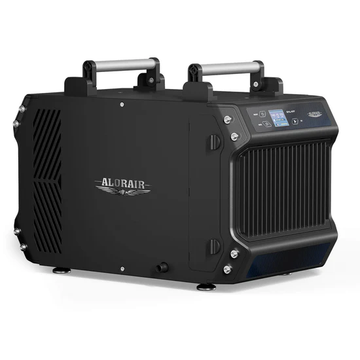
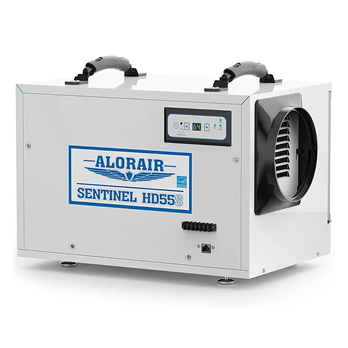
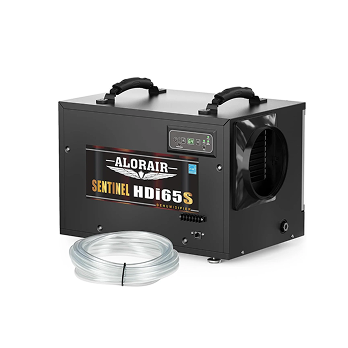
6. Add a Dehumidifier When Ventilation Is Not Enough
Use a dehumidifier when relative humidity remains above the growth-stage target despite appropriate ventilation, airflow, watering, and drainage. This is especially common during flowering, after irrigation, and during the lights-off period.
Before selecting a unit, record the highest RH, minimum and maximum temperature, tent or room volume, plant density, watering volume, drainage options, and whether the tent exchanges air with a surrounding room. These factors provide a better starting point than square footage alone.
A small tent may not have enough floor space or cooling capacity for a large dehumidifier. In multi-tent or larger setups, placing the unit in the surrounding lung room may provide easier drainage, maintenance, and heat management. Compare the tradeoffs between placing a dehumidifier inside the grow tent or in the lung room.
For equipment features and capacity considerations, learn how to choose a grow room dehumidifier.
Automate and Verify Humidity Control
A humidity controller can cycle a dehumidifier, humidifier, or exhaust system in response to real-time RH readings. Place the control sensor near canopy level, but away from direct airflow, mist, irrigation lines, and equipment discharge.
Verify the controller periodically with a separate calibrated hygrometer. Clean equipment filters, check drainage lines, and compare lights-on and lights-off readings so a daytime average does not hide nighttime humidity spikes.
How to Raise Humidity When the Grow Tent Is Too Dry
If RH remains below the appropriate range, first reduce excessive exhaust airflow and confirm that the hygrometer is not positioned directly beside an intake or circulation fan. A humidifier placed near the intake or in the surrounding room can provide more stable control than directing mist at the plant canopy.
Avoid relying on additional watering, wet towels, or overcrowding the tent with more plants. These methods are difficult to control and may introduce standing water, uneven humidity, or poor airflow. If using an ultrasonic humidifier, follow the manufacturer’s water-quality and cleaning instructions to limit mineral buildup and microbial contamination.
Grow Tent Humidity Troubleshooting
| Problem | Likely Cause | What to Check First |
|---|---|---|
| RH rises after lights off | Temperature drop and continued moisture release | Nighttime exhaust, circulation and lung-room humidity |
| RH remains high after watering | Excess runoff or saturated media | Watering schedule, drainage trays and standing water |
| One area reads higher | Stagnant air or dense canopy | Sensor placement and circulation below the canopy |
| Dehumidifier runs continuously | Excess moisture load, air leakage or undersized unit | Intake air, watering load, temperature and capacity |
| RH falls too low | Excessive exhaust or dehumidification | Humidistat setting, fan speed and sensor accuracy |
| Tent becomes too warm | Dehumidifier and lighting heat | Unit placement, cooling capacity and lung-room setup |
Conclusion
Effective grow tent humidity control starts with accurate measurements at canopy level. Adjust exhaust ventilation, canopy airflow, watering, drainage, and nighttime temperature before adding more equipment.
When those measures cannot maintain the target RH, a properly selected dehumidifier can provide more consistent control. Account for the moisture load, equipment heat, drainage, and whether the unit will operate inside the tent or in the surrounding lung room. Continue checking both lights-on and lights-off conditions as the canopy develops.


